 how-to
Flexible Installation Methods for University Events
Table of Contents
- Understanding Flexible Installation Methods for University Events
- What You'll Need Before Installation
- Step-by-Step DIY Pipe and Drape Rental Setup
- Finding Professional Draping Near Me for Campus Events
- Campus Event Space Design Ideas Using Modular Configurations
- Safety and Compliance for Temporary Event Installations
- Common Installation Mistakes to Avoid
- Post-Event Teardown and Storage Logistics
- Frequently Asked Questions
Last Updated: September 22, 2026
Understanding Flexible Installation Methods for University Events
Flexible installation methods are the techniques and systems you use to set up temporary draping, partitions, and decor that transform campus spaces for events. Event Drape Rental helps event coordinators and campus managers create adaptable venues that shift between different purposes, from lectures to trade shows to formal galas, without permanent structural changes.
Modular components connect quickly, adjust to different room sizes, and disassemble fast, saving time, reducing costs, and maximizing space reuse.
Pipe and drape systems reshape multipurpose rooms in hours, creating temporary walls and backdrops that reconfigure between events without permanent structural changes.
What You'll Need Before Installation
Gather materials and tools before assembly to prevent mistakes and stay on schedule.
Essential components for DIY setup:
- Pipe and base plates (uprights that anchor the frame)
- Cross bars and connectors (the horizontal pieces that hold everything together)
- Drapes in your chosen color and fabric
- Hooks or clips designed for your specific pipe diameter
- A level tool to ensure uprights are straight
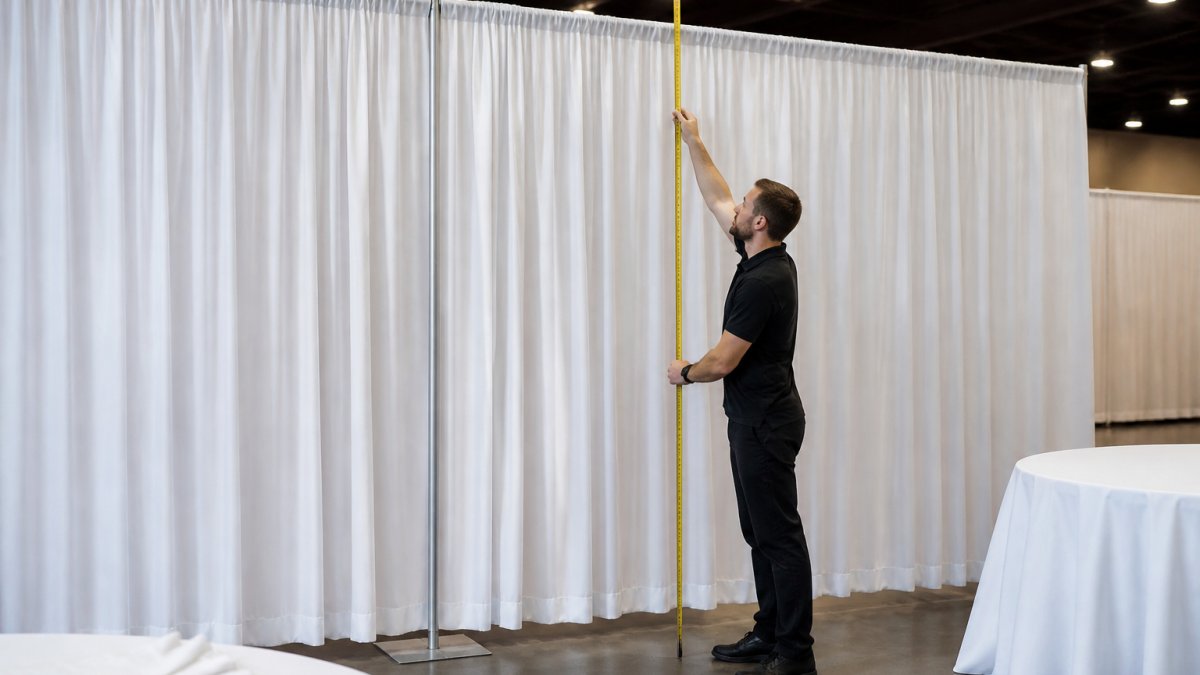
- Measuring tape for accurate spacing
- Ladder or step stool for reaching higher attachment points
- Work gloves to protect your hands during assembly
Space assessment checklist:
- Measure ceiling height and note any obstacles (beams, sprinkler heads, lighting fixtures)
- Check floor condition, uneven surfaces require shim plates under base feet
- Confirm weight capacity if mounting to existing structures
- Identify electrical outlets if you're adding lighting or AV equipment
- Verify door widths to ensure drape panels fit through during delivery
Step-by-Step DIY Pipe and Drape Rental Setup
Step 1: Measure Your Space and Plan Layout
Start with accurate measurements. Sketch your room layout on paper or use a simple digital tool. Mark doorways, windows, and any fixed furniture that stays in place.
Measure the full width and height of each wall where you'll install drapes. Note the distance from floor to ceiling at multiple points, older buildings often have uneven ceilings. Take photos of the space from multiple angles so you can reference them during setup.
Decide where your drapes will go. Will they cover an entire wall, create a room divider, or form a booth configuration? Your layout determines how many uprights you need and where they anchor.
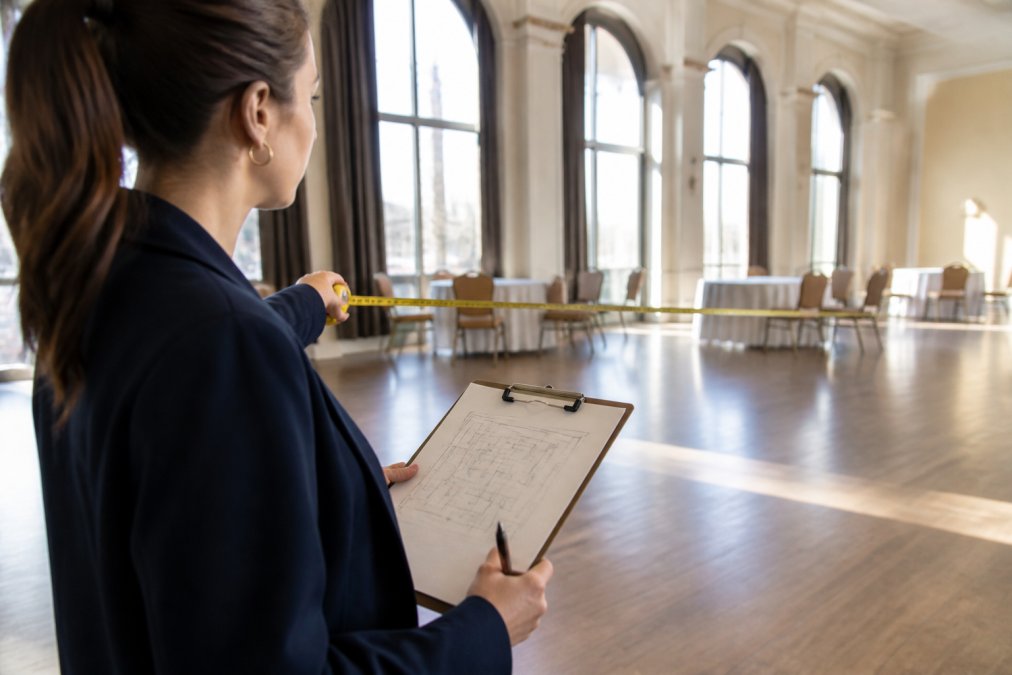
Mark anchor points on the floor with tape. This visual guide keeps you aligned during assembly and saves time repositioning pieces later.
Step 2: Assemble the Pipe Framework
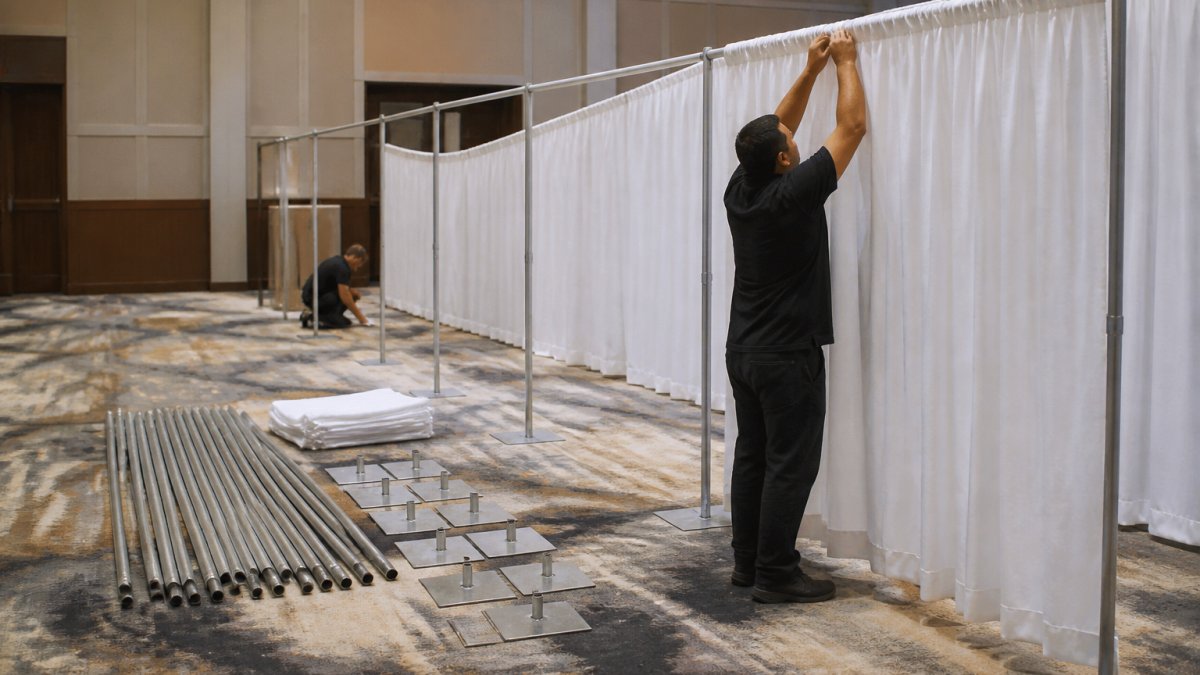
Lay out all pipe sections and connectors before connecting to prevent confusion.
Assembly sequence:
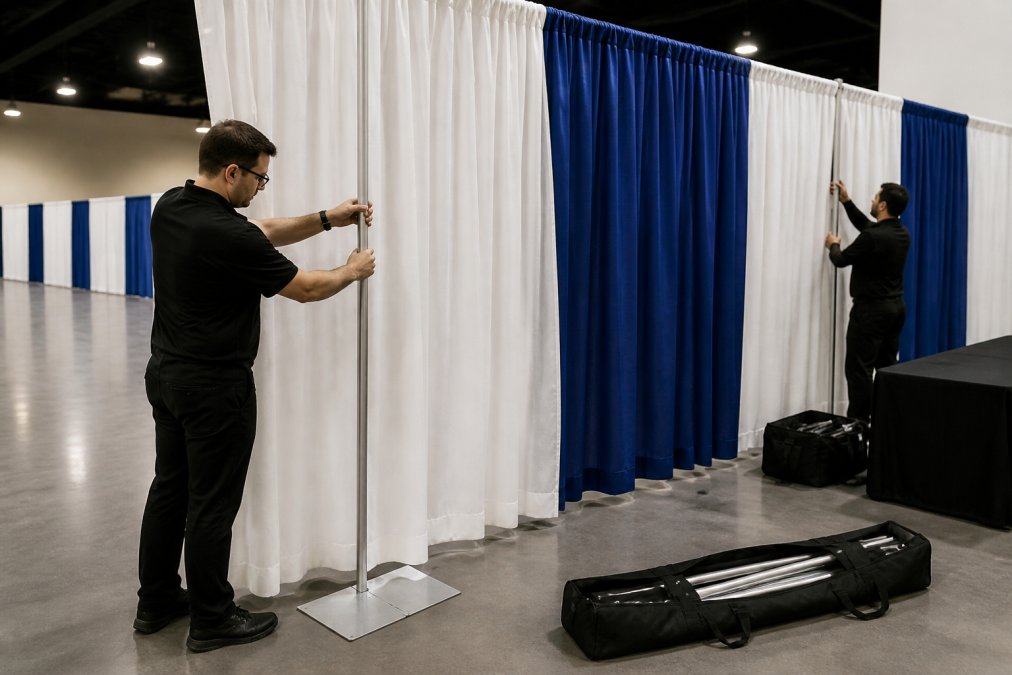
- Insert vertical pipes into base plates and tighten locking collars
- Connect horizontal cross bars between uprights using slip-fit or bolt connectors
- Space uprights 8-10 feet apart for standard drape panel widths
- Use a level on each vertical section, even slight tilts compound across multiple uprights
- Double-check all connections are tight before hanging any weight
Work methodically and tighten all connections fully; loose pipes shift under drape weight and create visible sags. For installations above 15 feet or in high-traffic areas, add diagonal bracing between uprights for stability.
Step 3: Hang and Secure the Drapes
Slide drape panels onto hooks from top to bottom, working from one end of the framework. Overlap panels slightly at seams to hide the framework, keeping overlap consistent. Pull the bottom taut but not tight, and secure with weights or clips. Step back frequently to check for uneven panels or visible gaps.
Finding Professional Draping Near Me for Campus Events
Campus events often demand faster turnaround or larger-scale installations that justify professional help. Event Drape Rental offers professional installation services that handle framework assembly through final hanging, with pre-measured spaces and pre-staged materials. Our installers understand campus-specific challenges, tight timelines, loading dock access, and building protection, and complete setup efficiently. We offer over 100 colors and multiple fabric materials, plus handle takedown and storage. Integrating advanced display technologies alongside these drapery solutions remains a critical strategy for reducing event setup time during complex campus productions.
Campus Event Space Design Ideas Using Modular Configurations
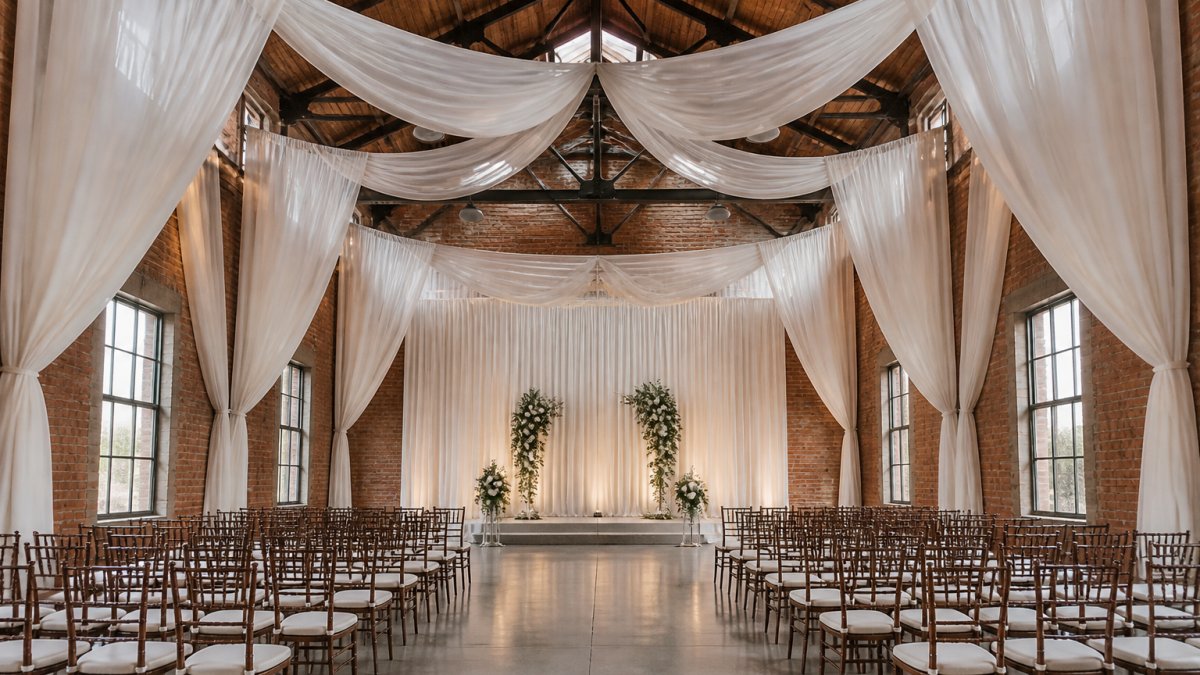
Modular configurations let you rethink your space for each event. The same ballroom becomes three distinct areas for a trade show, then transforms into a single large venue for a gala the next night.
Creating Multi-Functional Areas with Space Dividers
Space dividers segment large rooms into smaller zones for registration, presentation, and networking. This improves event flow, controls capacity in each area, and hides unsightly infrastructure from guest view.
Booth-Style Configurations for Trade Shows and Exhibitions
Booth-style configurations (8x8 or 10x10 feet) define individual exhibitor spaces while maintaining visual consistency. Each booth is self-contained and easy to set up, tear down, and reconfigure. Materials can ship in advance, with exhibitors assembling their own spaces or requesting professional installation.
Safety and Compliance for Temporary Event Installations
Temporary installations on campus must meet federal, state, and local safety standards. This section provides the framework to pass inspection and protect your institution from liability.
Fire Code and Flame-Resistance Requirements
All indoor drape materials must meet NFPA 701 (federal flame-resistance standard). Request NFPA 701 test reports from suppliers and keep certificates on file. For outdoor events within 50 feet of buildings, verify requirements with your local fire marshal.
ADA Accessibility for Temporary Structures
Temporary installations must not block accessible routes (36 inches minimum width) or emergency exits.
Structural Load and Anchor Point Assessment
Pre-Installation Inspection Checklist
- Ceiling height verified at multiple points; no obstructions (sprinkler heads, HVAC ducts, light fixtures) within 12 inches of planned drape height
- Floor condition assessed; uneven surfaces shimmed or marked with tape
- All base plates rest on level flooring with full contact (no rocking or tilting)
- Electrical outlets and cords positioned away from drape materials; cords protected with cable covers if crossing walkways
- Flame-resistance certification obtained for all drape materials
- Accessible routes verified at 36 inches minimum width; emergency exits unobstructed
- All pipe connections hand-tightened and visually inspected for gaps
- Uprights checked with a level; no tilts exceeding 1/8 inch per 10 feet of height
- Diagonal bracing installed for installations above 15 feet or in high-traffic zones
- Drape panels secured at top and bottom; no loose edges that could shift during event
- Campus facilities manager or ADA coordinator sign-off obtained
Post-Installation Documentation
Common Installation Mistakes to Avoid
Underestimating assembly time: Plan 4-6 hours for first attempts; rushing causes loose connections and uneven drapes. Skipping level checks: Tilted uprights create visible sags; use a level on every vertical section. Inconsistent overlaps: Measure overlap and maintain it across all seams. Ignoring weight distribution: Use base plates rated for your drape weight; undersized equipment fails under load. Forgetting traffic flow: Position uprights along walls or mark with floor tape to prevent tripping hazards. Not securing drape bottoms: Use weights or clips to prevent shifting, especially in high-traffic areas.
Post-Event Teardown and Storage Logistics
Teardown and storage logistics are often improvised, causing operational failures. This section provides systems to avoid chaos and reduce setup time on future events.
Teardown Timeline and Crew Planning
Damage Assessment and Repair Workflow
Inventory Management System
Storage Space Planning
Drape Folding and Storage Best Practices
Transport and Logistics
Cost Tracking and Budget Implications
Typical costs to monitor:
- Labor: hourly wages for teardown crew (usually 3-4 hours × crew size)
- Storage: monthly or annual facility rental if using off-campus space
- Repairs and replacements: annual budget for damaged components
- Transport: fuel or rental costs if moving equipment between locations
Frequently Asked Questions
What are the most effective flexible installation methods for temporary event spaces?
The most effective methods combine modular pipe and drape systems with careful space planning. Flexible installation methods allow you to adapt configurations based on your venue's layout and event requirements. Start by measuring your space, plan your layout to maximize event space utilization, and choose between DIY assembly or professional installation. Modular setups with adjustable heights (12 to 30 feet) and various fabric options give you the adaptability needed for different event types on campus.
How can universities maximize event space utilization with modular setups?
Modular configurations allow you to partition large halls into smaller, multi-functional areas without permanent construction. Use space dividers to create separate zones for registration, networking, or presentations. Flexible draping systems let you adjust booth-style configurations for trade shows or exhibitions. Plan your layout to avoid event scheduling conflicts and ensure adequate capacity management. This approach transforms a single venue into multiple functional spaces, maximizing resource management and reducing the need for additional venues.
What safety standards must be met for temporary event installations on campus?
Ensure pipes are properly secured to prevent tipping, and verify that drape weights don't exceed rated capacities. Check that walkways remain clear and compliant with ADA accessibility standards. Use flame-retardant fabrics that meet NFPA 701 standards for fire safety. Verify your campus event policies regarding temporary installations, obtain necessary permits, and coordinate with facilities to ensure installations don't damage walls or ceilings.
How much does professional installation cost compared to DIY setup?
Professional installation pricing depends on quantity, venue size, delivery location, and timeline. DIY setup saves on labor costs but requires your team's time and effort. Professional installation ensures faster setup, proper safety compliance, and polished results, particularly for complex layouts or tight deadlines. Contact Event Drape Rental for a quote that reflects your specific event needs, venue location, and installation requirements. Request a quote to compare options based on your budget and timeline.