 how-to
How to Style Wedding Draping for High Ceilings
Table of Contents
- Step 1: Measure Your High Ceiling and Calculate Fabric Needs
- Step 2: Choose the Right Ceiling Draping Fabric
- Step 3: Explore Wedding Ceiling Draping Ideas for Tall Spaces
- Step 4: Plan Your Ceiling Drape Installation and Safety
- Step 5: Understand Wedding Ceiling Draping Cost
- Step 6: Add Lighting to Transform the Venue
- Common Mistakes to Avoid When Styling Wedding Draping for High Ceilings
- Conclusion
- Frequently Asked Questions
Last Updated: October 14, 2026
Step 1: Measure Your High Ceiling and Calculate Fabric Needs
Getting the measurements right is the difference between draping that looks intentional and draping that looks improvised. For high-ceiling wedding draping, you need three numbers before anything else: height, width, and the location of every attachment point.
Wedding draping for high ceilings is the practice of suspending fabric from a ceiling structure to soften, frame, or visually lower a tall space. At Event Drape Rental, we supply drapes from 12 to 30 feet tall, and the single most common reason a DIY install fails is a height measurement taken from the floor instead of from the actual rigging point.
Measuring Height, Width, and Attachment Points
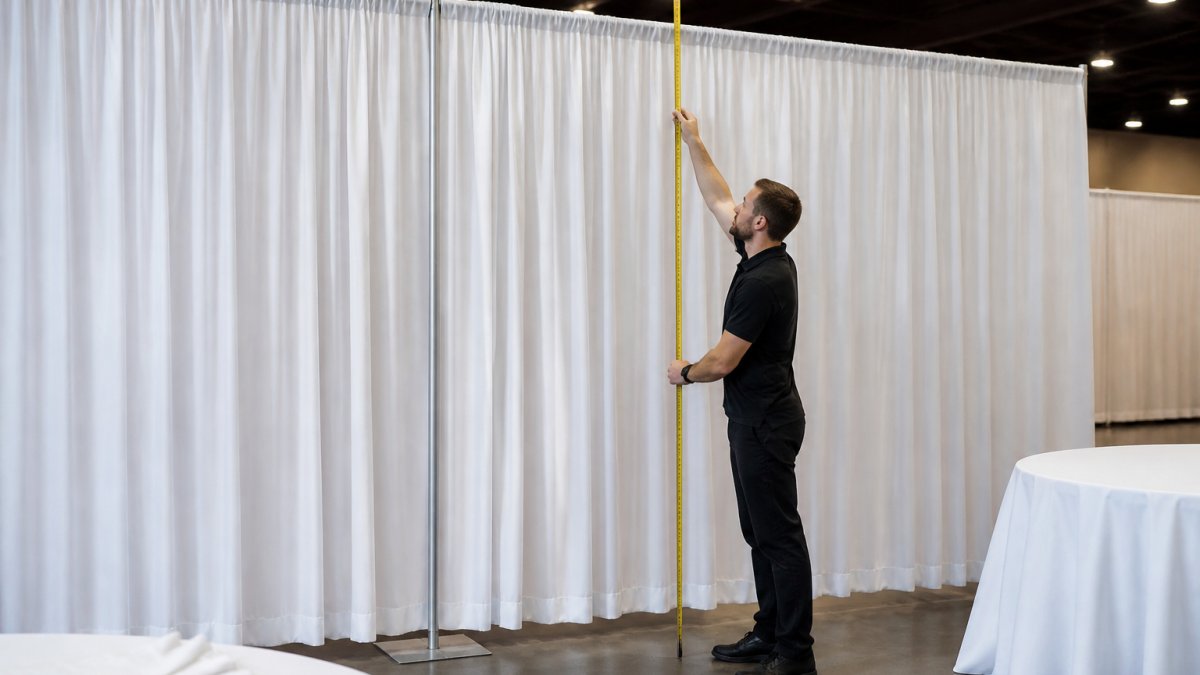
Measure from the highest attachment point to the floor, then add 10 to 15 percent for pooling and swag. A 24-foot ceiling rarely needs 24-foot panels; it needs panels cut to your rigging height plus slack.
- Height: floor to highest rigging point, measured twice
- Width: total span you intend to cover
- Attachment points: beams, trusses, existing hardware, or rated anchor locations
Check the NFPA 101 Life Safety Code requirements for clearance around sprinklers and exits before you plan a single panel.
Calculating Fabric Fullness and Panel Count
Fabric fullness is the ratio of fabric width to the span it covers. A 2:1 fullness ratio means a 20-foot span uses 40 feet of fabric. For a soft, ethereal effect, 2:1 to 2.5:1 works well; for a dense, opaque look, go to 3:1.
| Ceiling Height | Panel Length | Fullness Ratio | Typical Panel Count (20 ft span) |
|---|---|---|---|
| 12-16 ft | 14-18 ft | 2:1 | 6-8 |
| 18-24 ft | 20-26 ft | 2:1 to 2.5:1 | 8-10 |
| 26-30 ft | 28-32 ft | 2.5:1 to 3:1 | 10-14 |
Step 2: Choose the Right Ceiling Draping Fabric
Fabric choice decides how the drape hangs, how it photographs, and how much it costs.
Chiffon gives a soft, flowing look with some opacity. Organza is crisper and more translucent, which reads better under uplighting. For a fuller, more structured drape, consider voile or a matte satin blend.
Fire-rated fabric is not optional in most commercial venues. Ask for documentation before booking, and confirm the venue's own requirements in writing.
Step 3: Explore Wedding Ceiling Draping Ideas for Tall Spaces
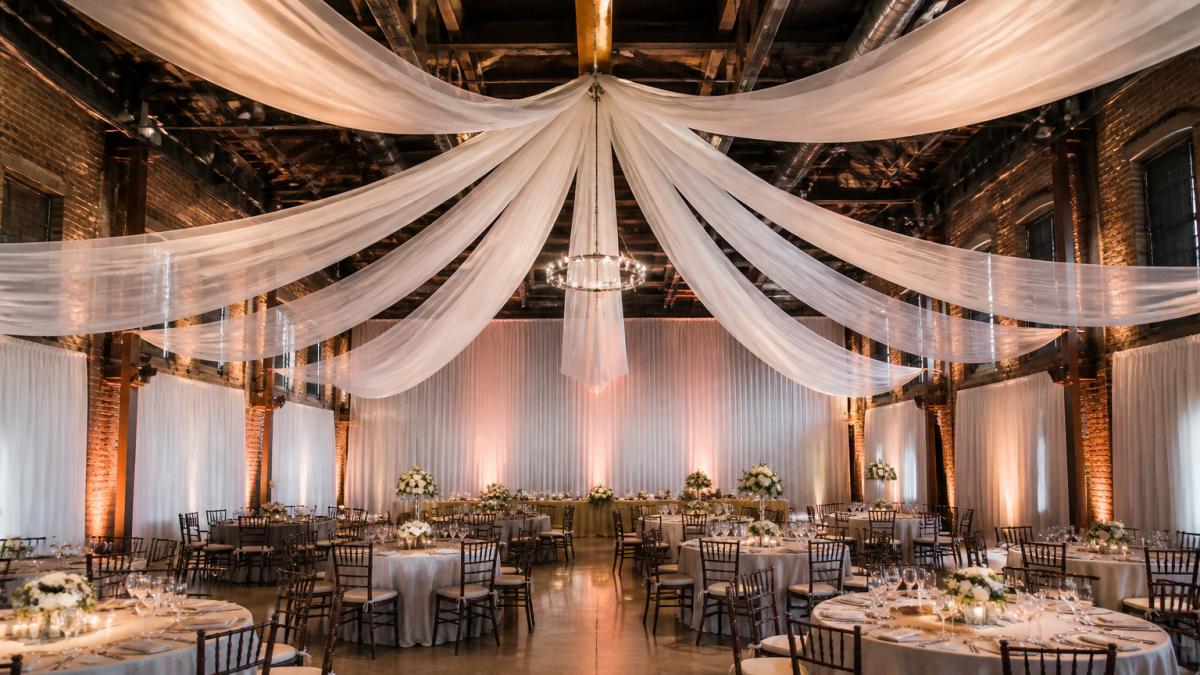
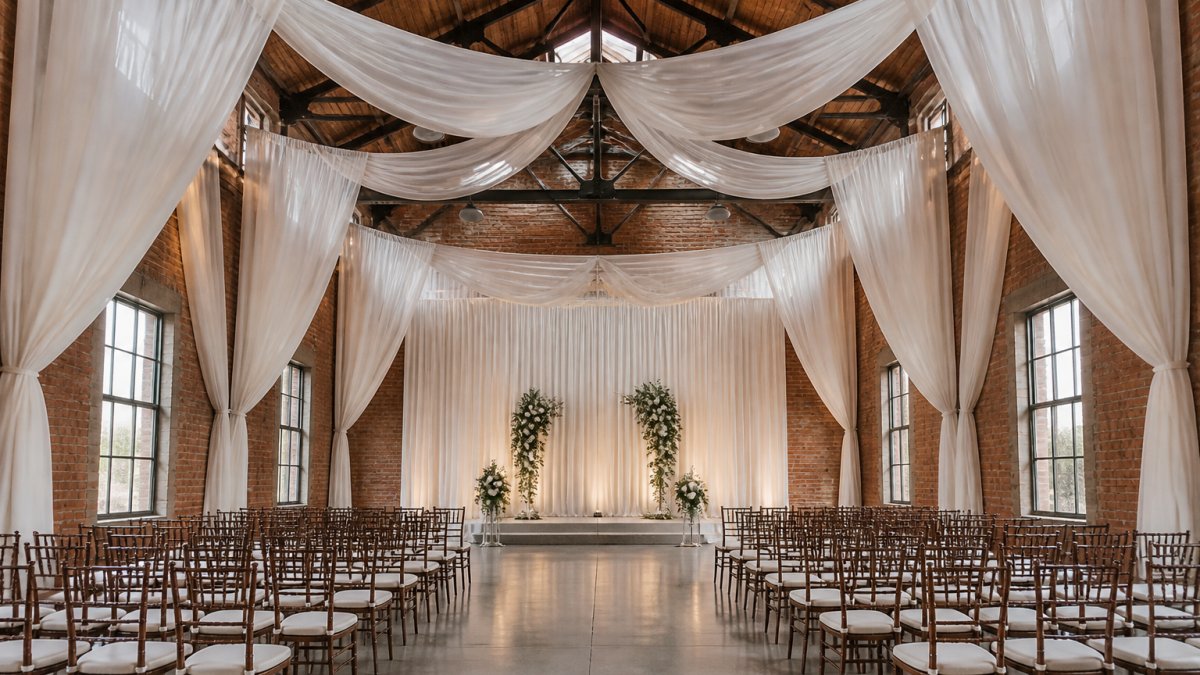
The best wedding ceiling draping ideas for tall spaces use the height rather than fighting it. A radial layout, where fabric runs from a single central point outward, turns a vaulted ceiling into a focal point.
Layouts That Emphasize Height
- Radial: fabric fans from a center point; strong for round or square rooms
- Linear: parallel panels; best for rectangular banquet halls
- Perimeter: fabric frames the room edges; leaves the center open
Working With Beams and Industrial Venues
Exposed steel beams and industrial venues are the hardest and most rewarding spaces. Beams give you reliable attachment points, but they also dictate your layout. Run fabric perpendicular to beams for a clean look, or wrap beams for a softer, more textured effect.
Step 4: Plan Your Ceiling Drape Installation and Safety
Ceiling drape installation on a high ceiling is a rigging problem before it is a decor problem. Most inspiration-led guides stop at "use rated hardware." This section goes further: how to verify load limits, what access equipment a tall install actually requires, how to size a crew, and how to plan setup and teardown so the venue does not shut you down mid-install.
Attachment Methods and Rigging Safety
Common attachment points include rated beams, truss structures, and approved ceiling anchors. Magnetic hooks work on steel beams but only where the beam surface is clean and the load rating is verified. For anything above 20 feet, professional rigging is the safer call.
Before you commit to any attachment point, work through this verification sequence:
- Identify the structure. A rated steel beam, a truss chord, and a decorative ceiling panel are three different things. Only the first two are typically load-rated.
- Confirm the load rating. Ask the venue or building engineer for the rated capacity of each attachment point. If no one can tell you, treat it as unrated and do not hang from it.
- Calculate the load. Fabric weight plus hardware weight plus any dynamic load from air movement. A 30-foot chiffon panel can weigh 8 to 15 pounds dry, and a full ceiling layout of 12 panels can add 100 to 180 pounds before hardware. Wet or humid conditions increase fabric weight.
Fire-Retardant Requirements and Permissions
Most commercial venues require flame-retardant (FR) fabric or a documented FR treatment. Ask for the certificate of flame resistance before booking, and confirm the venue's own requirements in writing. Some jurisdictions also require a permit for overhead rigging, especially in historic buildings or venues with public occupancy above a certain threshold. Check with the venue's event manager and, if needed, the local fire marshal before install day.
Access Equipment, Crew Size, and Timing
This is where high-ceiling installs separate from standard ones. A 12-foot ceiling can be reached with a step ladder. A 24-foot ceiling cannot.
| Ceiling Height | Typical Access Method | Crew Size | Setup Time (per 20 ft span) |
|---|---|---|---|
| 12-16 ft | 8-12 ft step ladder or small scaffold | 2 people | 1-2 hours |
| 18-24 ft | 12-20 ft scaffold tower or scissor lift | 3-4 people | 2-4 hours |
| 26-30 ft | 20-30 ft scaffold, boom lift, or lift rental | 4-6 people | 4-6 hours |
Access equipment rental is a real cost line. A scissor lift rental for a weekend typically runs a few hundred dollars per day, and a boom lift for a 30-foot ceiling can run higher. Factor in delivery, pickup, and operator training if your crew is not certified.
- Confirm the venue's rigging policy and insurance requirements
- Use rated hardware only; no zip ties on load-bearing points
- Keep all fabric clear of lighting fixtures and heat sources
OSHA scaffold and fall protection standards
Step 5: Understand Wedding Ceiling Draping Cost
Wedding ceiling draping cost depends on fabric, height, quantity, and whether you install it yourself. Most guides list the drivers and stop. This section gives you realistic ranges so you can build a budget before you request a quote.
Fabric and Hardware Costs
Fabric is usually the largest single line item. Chiffon and organza are the most common ceiling draping fabrics because both are lightweight and move well under airflow. Expect to pay roughly:
- Chiffon: $2 to $6 per yard, depending on width and quality
- Organza: $3 to $8 per yard
- Voile or matte satin blend: $4 to $10 per yard
A 20-foot span at 2:1 fullness uses about 40 feet of fabric, or roughly 13 to 14 yards. At $4 per yard, that is about $55 in fabric for one span. A full ceiling layout of 10 spans can run $500 to $1,500 in fabric alone before hardware.
Hardware adds up quickly:
- Rated carabiners and shackles: $5 to $20 each
- Beam clamps: $10 to $40 each
- Truss or pipe and drape system: $200 to $800 per section
DIY Versus Professional Installation
This is the biggest swing in the budget. A DIY install saves labor but requires access equipment, crew time, and a tolerance for risk. A professional install adds labor but removes the safety and liability burden.
| Approach | Typical Cost Range (20 ft span) | What It Includes |
|---|---|---|
| DIY, no lift | $100-$300 | Fabric, basic hardware, your time |
| DIY with lift rental | $400-$900 | Fabric, hardware, lift rental, crew |
| Professional install | $800-$2,500 | Fabric, hardware, labor, access, insurance |
For a full ceiling layout, professional installation commonly runs $2,000 to $8,000 depending on height, span, and venue complexity. DIY can cut that by 40 to 60 percent, but only if you have access to the right equipment and a crew that can work safely at height.
Access Equipment and Labor
Access equipment is the hidden cost most couples miss. A scissor lift rental for a weekend typically runs a few hundred dollars per day. A boom lift for a 30-foot ceiling can run higher.
Labor is usually billed per installer per hour. A 4-person crew for a 6-hour install at $25 to $50 per hour per person runs $600 to $1,200 in labor alone.
Delivery, Setup, and Strike Fees
Many rental companies charge separately for delivery, setup, and strike (teardown). These fees can add 10 to 25 percent to the total. Rush timelines and multi-venue logistics add more. Always ask for a written quote that itemizes each fee rather than relying on a headline price.
Event Drape Rental carries over 100 colors and 6 fabric materials.
OSHA scaffold and fall protection standards
Step 6: Add Lighting to Transform the Venue
Lighting is what turns a draped ceiling from decoration into atmosphere. Uplighting aimed at fabric creates depth; downlighting flattens it. For high ceilings, place fixtures at the base of the drape and angle upward to catch the fabric folds.
Warm white lighting suits neutral colors and traditional weddings. Cooler tones work better with modern industrial venues. Test your lighting plan with a fabric sample before the event.
Common Mistakes to Avoid When Styling Wedding Draping for High Ceilings
The most expensive mistakes happen before install day. Most stem from skipping measurements or underestimating the rigging.
- Measuring from the floor instead of the attachment point
- Ordering to exact height with no pooling allowance
- Ignoring fire-code and venue rigging requirements
Conclusion
High ceilings are an advantage, not a problem, once you measure properly and plan the rigging. Event Drape Rental supplies drapes from 12 to 30 feet tall, over 100 colors, and 6 fabric materials, with DIY or professional installation options to fit your timeline. Request a quote from Event Drape Rental and get draping that fits your venue the first time.
Frequently Asked Questions
How do you do ceiling draping for a wedding with very high ceilings?
Start by measuring the ceiling height and width, then calculate fabric fullness at 2 to 3 times the coverage area. Choose lightweight fabrics like chiffon or organza that drape well from tall attachment points. Plan your layout, whether radial from a center point, parallel swags, or wall-to-wall panels. Secure fabric to beams, trusses, or rigging points rated for the load, and check with the venue about fire-code requirements and permitted attachment methods before installation day.
What fabric works best for wedding ceiling draping in a tall venue?
Chiffon and organza are the most popular choices because they are lightweight, flow beautifully, and catch ambient lighting. For a more structured or opaque look, consider voile or crepe. White and light beige remain the most versatile neutral colors because they reflect uplighting and make tall spaces feel brighter. Fabric weight matters: heavier fabrics need stronger attachment points, while lightweight sheers are easier to hang but require more panels for full coverage.
How much does it cost to drape a wedding ceiling?
Wedding ceiling draping cost depends on ceiling height, total coverage area, fabric choice, and whether you install it yourself or hire a professional. Taller ceilings require more fabric and more complex rigging, which increases both material and labor costs. Rental options are often more budget-friendly than buying, especially for one-day events. Request quotes from at least two vendors and ask whether delivery, setup, and teardown are included in the price.
Can you install ceiling draping yourself in a high-ceiling venue?
DIY ceiling drape installation is possible for lower ceilings and simple layouts, but high ceilings above 20 feet introduce real safety and logistics challenges. You will need ladders or lifts, rated attachment hardware, and a clear plan for reaching anchor points. Many venues require proof of insurance or prohibit guest rigging entirely. If your venue has steel beams, trusses, or ceilings above 25 feet, professional installation is usually the safer and faster option, especially on tight event timelines.