 how-to
How Do You Create a Professional Photo Backdrop With Drapes?
Last Updated: November 8, 2026
Quick Summary
To create a professional photo backdrop drapes setup, measure the frame, choose a fullness multiplier of 1.5x to 3x, and calculate the fabric width and length. Then hang a matte, medium-weight fabric on a sturdy stand, gathering it into even folds so it looks clean on camera.
- Measure the frame before buying fabric, not the room.
- A fullness multiplier of 1.5x to 3x sets how deep the gathers look.
- Add 10 percent extra yardage for pattern matching and cutting error.
- Choose a matte, medium-weight fabric because shiny fabrics create hot spots.
- Keep the subject 3 to 6 feet in front of the drape to avoid shadows.
Table of Contents
- What You Need Before You Start Hanging Drapes
- Measuring the Space and Calculating Drape Width and Length
- What Is the Best Material to Use for a Photo Backdrop
- How to Make a Backdrop Stand That Holds Heavy Drapes
- Step-by-Step: Hanging and Layering Drapes for a Clean Look
- How to Fix a Backdrop Without a Stand
- Lighting and Troubleshooting Drapes in Photos, Then Booking Your Backdrop
- Frequently Asked Questions
Creating a professional photo backdrop drapes setup is one of the fastest ways to make your event photos look polished. For most planners, the right fabric and setup matter more than expensive lighting. This guide from Event Drape Rental walks you through each step, from gathering supplies to fixing problems in the photos themselves.
Common mistakes with event drapes include hanging them too tight, fabric wrinkles showing up in photos, and backdrops sagging halfway through an event. Good planning prevents all three. Below, we cover how to build a backdrop that looks clean on camera and holds up under real event conditions.
What You Need Before You Start Hanging Drapes
Before you hang anything, gather your supplies. Most backdrops need a few basic items:
- A sturdy stand or pipe frame
- Drape fabric, sized to your planned width and height
- Clamps, S-hooks, or fasteners rated for the fabric weight
- A steamer or iron for wrinkle removal
- A stepladder and a measuring tape
A common mistake is buying fabric before measuring the space. Measure first, then buy. You will also want a second person to help hold the fabric while you clip it into place.
Measuring the Space and Calculating Drape Width and Length
Measure before you buy fabric. Ordering by eye often leads to drapes that are too narrow to gather or too short to clear the floor. Work through the numbers below and write them down before you shop.
Step 1: Measure the frame, not the room. Record the crossbar width from end to end and the height from the crossbar down to the floor. If the stand is adjustable, measure at the height you plan to use.
Step 2: Choose a fullness multiplier. Fullness is the ratio of fabric width to frame width. A flat panel at 1x looks like a sheet; most event drapers find 1.5x to 2x reads as a proper drape on camera, and 2.5x to 3x gives a deep, theatrical gather for weddings and galas.
Step 3: Calculate total fabric width. Multiply frame width by your multiplier. Example: an 8-foot frame at 2x fullness needs 16 feet of fabric width. If your fabric comes in 60-inch-wide panels, that is 192 inches divided by 60, or 3.2 panels, round up to 4 panels so you have seam allowance and a little spare.
Step 4: Calculate fabric length. Add the frame height, a top allowance for the rod pocket or clip hem (typically 4 to 6 inches), and a bottom allowance. Aim to finish 1 to 3 inches above the floor so the drape does not drag or cast a hard shadow line. Example: a 9-foot frame plus 6 inches top plus 2 inches bottom equals about 9 feet 8 inches of cut length per panel.
Step 5: Convert to yardage. Multiply panels by cut length, then divide by 3 to get yards. The 8-foot-by-9-foot example above works out to 4 panels at roughly 9.7 feet each, or about 39 feet of fabric, 13 yards. Add 10 percent for pattern matching, squared edges, and cutting error.
A simple worksheet you can copy:
- Frame width: ______ ft
- Frame height: ______ ft
- Fullness multiplier: ______ (1.5x to 3x)
- Total fabric width needed: width x multiplier = ______ ft
- Panels needed: total width / panel width = ______ (round up)
- Cut length per panel: height + top allowance + bottom allowance = ______ ft
- Total yardage: panels x cut length / 3 = ______ yd (add 10%)
Watch out: fabric is often sold in 54-inch or 60-inch widths, and a 54-inch panel needs more seams than a 60-inch panel, plan seam placement so seams fall in the back of a fold rather than the front face of the drape.
Use these fullness and yardage figures from the article to plan your drape order before you shop.
| Fullness level | Multiplier | Typical look |
|---|---|---|
| Corporate events | 1.5x | Tight pleats |
| Standard drape | 2x | Proper drape on camera |
| Weddings and galas | 2.5x to 3x | Deep, theatrical gather |
| Flat panel | 1x | Reads as a sheet |
Multiplier
What Is the Best Material to Use for a Photo Backdrop
For most photo backdrops, a matte, medium-weight fabric works best. Matte finishes reduce glare from lights and hide small imperfections. Shiny fabrics can reflect the camera flash and create hot spots in photos.
Stretch fabrics such as spandex blends are popular for photo backdrop drapes because they resist wrinkles and hang smoothly.
Consider flame-retardant ratings if your event is held indoors. Many venues require them, and your venue manager can confirm the standard they follow.
How to Make a Backdrop Stand That Holds Heavy Drapes
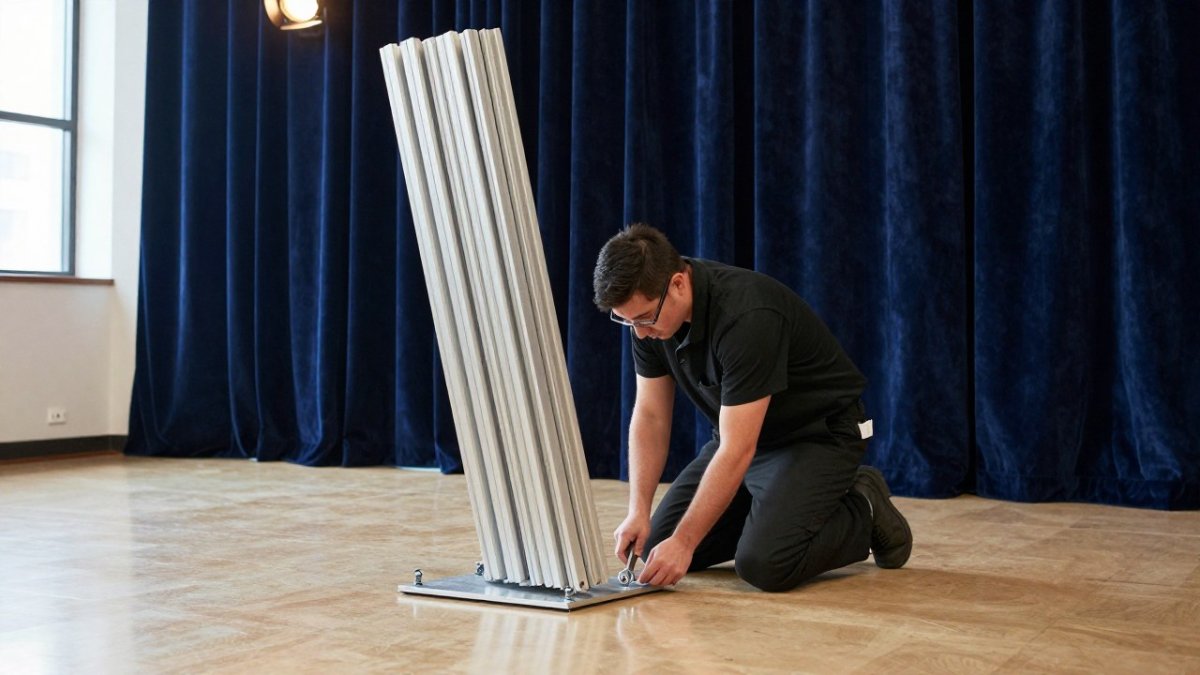
A stand needs a stable base and a crossbar strong enough to carry the fabric's weight. Use a base wide enough to resist tipping, and weigh each foot with sandbags or plates. Check that the crossbar is rated for more than the total weight of your drapes. A stable, evenly weighted backdrop also keeps close-up details in focus, whether the fabric frames Turquoise Mustang or another artisan piece.
Adjustable pipe systems are a flexible choice because they fit different spaces. Test the setup with the full weight of the fabric before the event, and walk around the stand to confirm it stays steady.
Step-by-Step: Hanging and Layering Drapes for a Clean Look
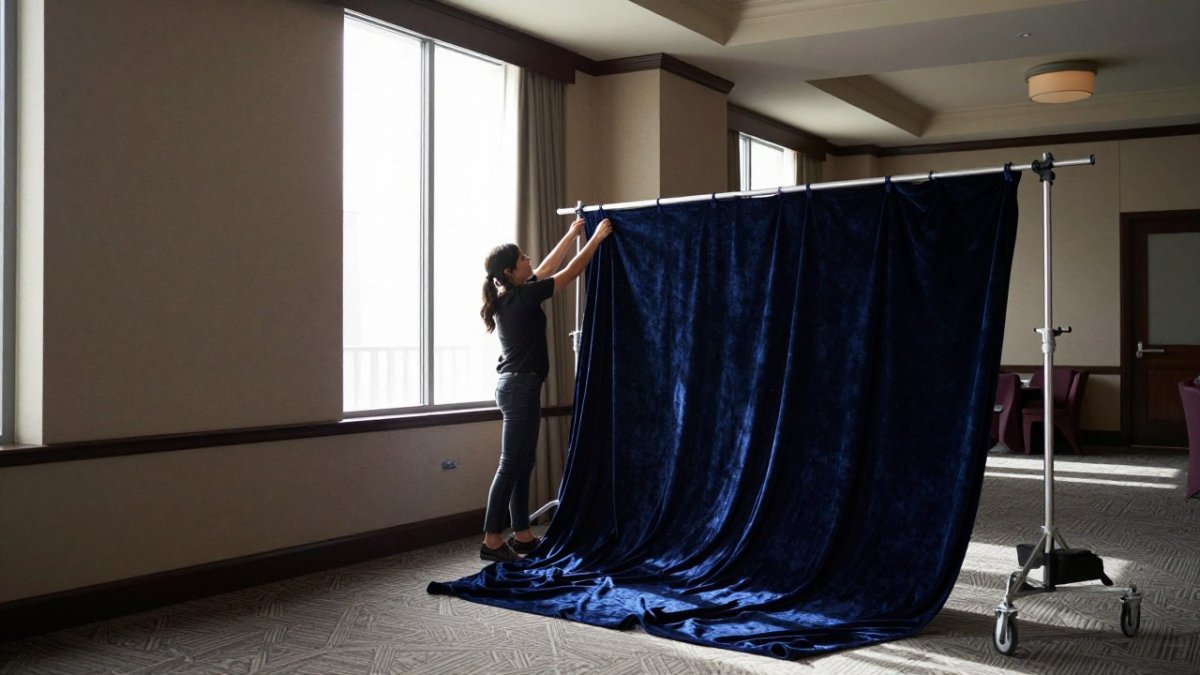
Start by hanging the first layer. Clip the fabric evenly along the crossbar, then pull it straight down. Let it fall naturally before adjusting.
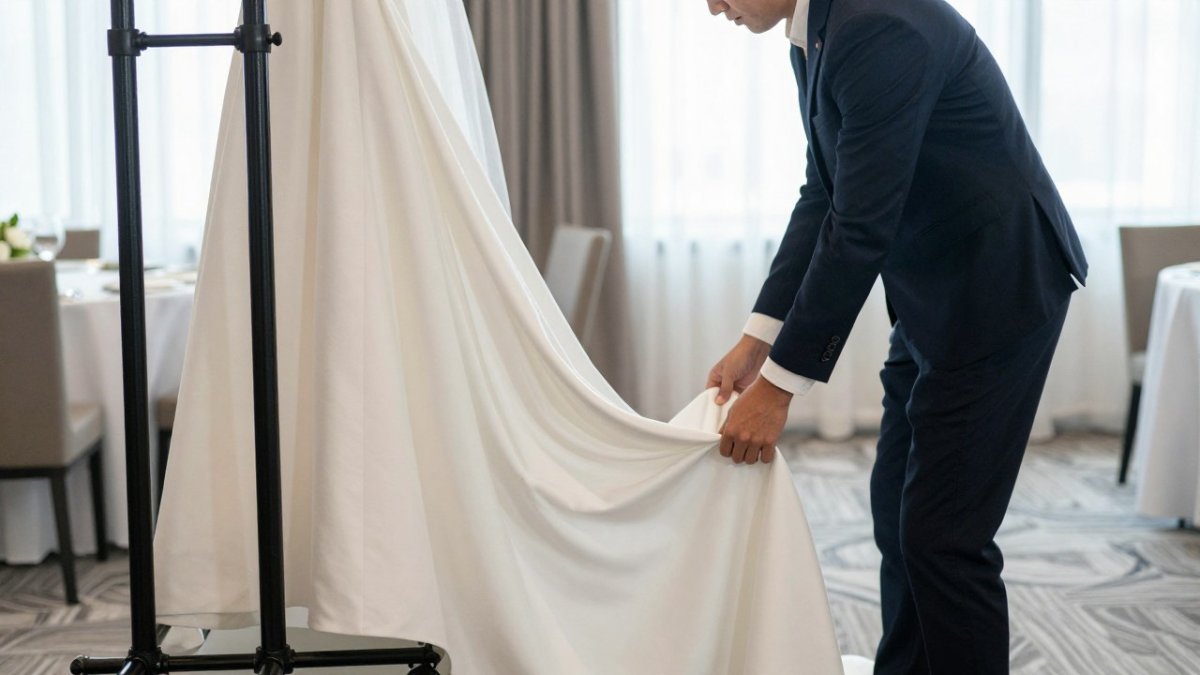
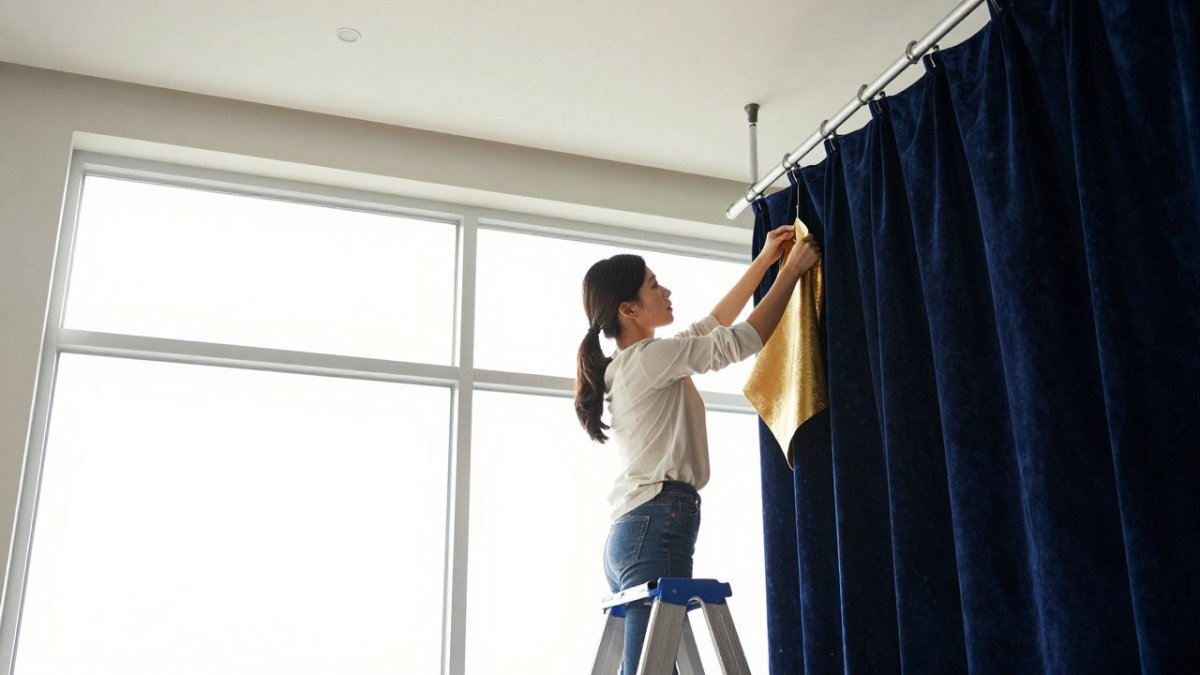
Next, gather the fabric into even folds. Use your hands to create pleats about the same width. Repeat the process for any second layer. A second layer in a contrasting color adds depth, and it is an easy way to make a simple setup look designed. You can browse real finished drape setups in our gallery for layering ideas.
Watch for these common problems as you hang:
- Uneven folds that create dark stripes in photos
- Drapes that pull toward one side of the stand
- Fabric touching the floor and gathering dust
Step back and check the setup from the camera's point of view. Adjust before the guests arrive.
Backdrop Draping Ideas for Different Event Styles
Your backdrop should fit the event. Simple, tight pleats suit corporate galas and trade shows, where a clean look reads as professional. Loose, soft gathers suit weddings and private parties. For a bold statement, try contrasting colors in two layers, or add greenery and fairy lights along the top edge.
How to Fix a Backdrop Without a Stand
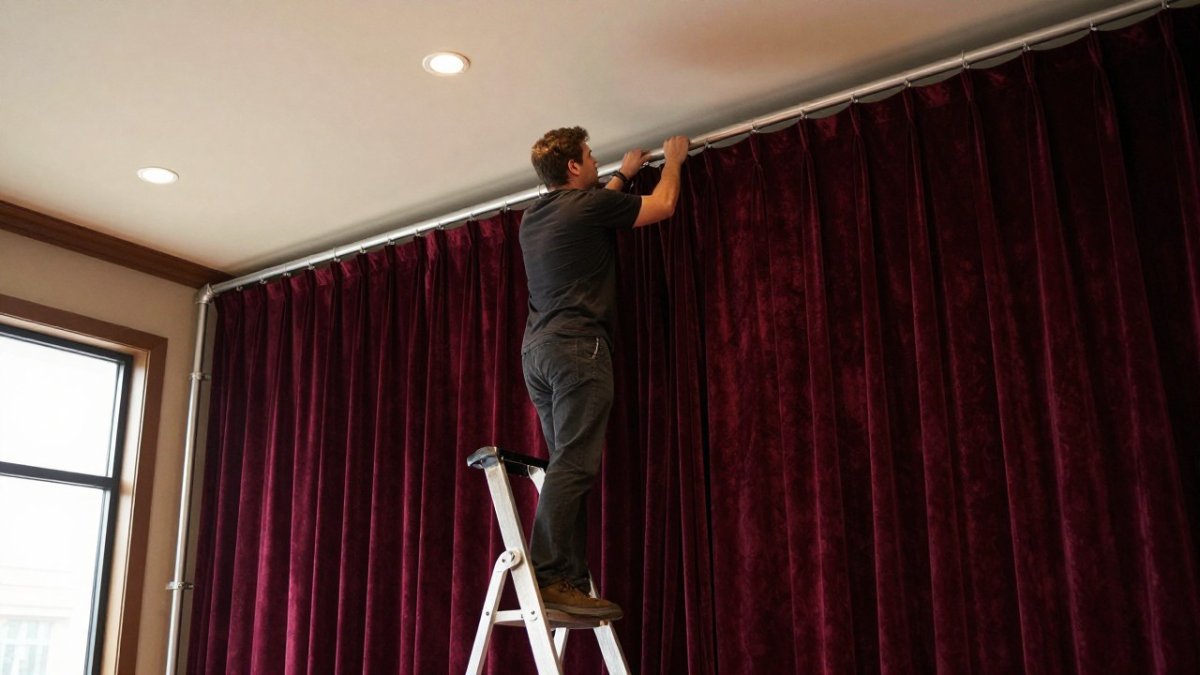
Sometimes you cannot set up a stand. In that case, hang the drapes from a ceiling track or a wall-mounted rod. Make sure the mounting point can carry the fabric weight. For a professional approach, see our wedding ceremony backdrop installation guide for how pros fix drapes securely.
If you have only a wall, clip the top edge with heavy-duty clips and anchor the bottom with weights hidden behind a tabletop or floor cover. Test the drape for at least 15 minutes before guests arrive, since fabric can slowly slip during setup.
Lighting and Troubleshooting Drapes in Photos, Then Booking Your Backdrop
A backdrop that looks fine to the eye can fail on camera. Fabric is reflective, folds cast shadows, and event lighting is rarely color-neutral. Treat the drape as part of the photograph, not just decoration, and check these variables before guests arrive.
Light direction. Side light at roughly 30 to 45 degrees to the drape shows texture and gives folds dimension. Straight-on front light flattens the fabric and can bounce back into the lens.
Distance between subject and drape. Keep the subject at least 3 to 6 feet in front of the fabric. Closer than that and the subject's shadow lands on the drape; farther than that and the backdrop loses presence in the frame.
Exposure and white balance. Set white balance to the actual light source, tungsten, daylight, or LED, rather than auto, because mixed event lighting shifts fabric color between shots. If the drape reads gray when it should be white, the exposure is likely under, not the fabric.
Fabric reflectivity. Matte fabrics absorb light and photograph cleanly. Satin, lamé, and other sheens create hot spots under flash. If you must use a sheen, bounce the flash off a ceiling or wall instead of firing it directly at the drape.
Common problems and fixes:
- Visible seams. Reposition seams to the back of a fold, or add a second layer so the seam line is hidden. If seams already show, steam the seam flat and angle the light so it rakes across the fold rather than the seam.
- Uneven folds. Re-clip at even intervals, typically every 6 to 12 inches, and check from the camera position, not from the side.
- Glare or hot spots. Move the light source off-axis, add a diffuser, or switch to a matte fabric.
- Sagging crossbar. Shorten the span, add a center support, or reduce fabric weight. A crossbar that bows will show a curved top edge in every photo.
- Color cast. Test the fabric under the venue's actual lights before the event; a white drape under warm tungsten reads cream on camera unless white balance is corrected.
- Distracting shadows. Raise the key light, move it farther from the drape, or flag it so spill does not hit the fabric.
- Wrinkles. Steam rather than iron stretch fabrics, and hang the drape for at least 30 minutes before the first photo so gravity can pull out clip marks.
Photograph a swatch under the venue's lighting before committing to a full drape order.
If you want help getting the look right without doing the setup yourself, our team can help. Browse our drape options to see fabric choices and color ranges, and see our lighting options for drapes. Once you know what you need, request a quote from Event Drape Rental to plan your backdrop.
Planning a backdrop for a wedding, trade show, or corporate event? Event Drape Rental can help you choose fabric, color, and height for your space, with DIY or professional installation options. Contact us to request a quote and get your backdrop planned.
Frequently Asked Questions
How do you put drapes on a backdrop stand?
Attach a pipe clamp or drape clip to the top horizontal bar of the stand, then hang the drape over the bar so the fabric falls evenly on both sides. Gather the fabric to the desired fullness, usually 1.5 to 2 times the width of the backdrop, and secure the bottom with clips or weights so the drape does not sway. Check that the stand is level and that the crossbar is tightened before loading heavy fabric.
How do I make a DIY draped backdrop?
Measure the wall or stand area, then choose a fabric in a matte finish to reduce glare in photos. Mount a pipe or tension rod at the desired height, and hang the fabric using clamps or tie clips. Add a second layer in a contrasting color if you want depth. Test the setup under your planned lighting before the event, because wrinkles and shine show up quickly on camera.
How wide should drapes be for a photo backdrop?
Plan for drapes to be about 1.5 to 2 times the width of the backdrop area so the fabric has enough fullness to hang in soft folds rather than pulling tight. For a 10-foot-wide backdrop, that means roughly 15 to 20 feet of total fabric width. Length should extend from the top bar to the floor, with a few inches of extra fabric to pool slightly if you prefer a layered look.
How can you hang drapes as a backdrop without a stand?
Use a tension rod between two walls, a ceiling track, or a sturdy wall-mounted hook system to create a top support. Secure the fabric with clamps, tape designed for fabric, or hook-and-loop strips, and use weights along the bottom hem to keep it from moving. This method works well for smaller spaces, but confirm with the venue that wall mounting and rigging are permitted before installing anything.