 how-to
Securing Pipe and Drape for Safety: A Setup Guide
Last Updated: November 9, 2026
Quick Summary
Secure pipe and drape for safety by seating every upright fully on its base pin, tightening all locking collars by hand, and matching baseplate weight to upright height and drape load. Shim and re-level bases on uneven ground, add ballast near vents or outdoors, and run a pre-opening inspection.
- Never swap a heavy baseplate for a light one just to save space.
- Stack ballast low and centered on the baseplate, never on the outer edge.
- Keep drapes at least a few feet clear of direct vent blasts and doorways.
- Do not attach pipe and drape to ceilings, beams, or sprinkler pipe yourself.
- Stop use if a base lifts when you press the upright or a collar turns freely.
Table of Contents
- Why Pipe and Drape Safety Starts With the Base
- Pipe and Drape Base Plate Weight Requirements
- Assembling Uprights, Crossbars, and Locking Collars
- Securing Pipe and Drape on Uneven Ground
- Anchoring, Weighting, and Load Limits for Wind and Airflow
- Pipe and Drape Safety Standards and Working Heights
- A Pre-Opening Safety Inspection and Stop-Use Criteria
- Request a Quote for Professional-Grade Pipe and Drape
- Frequently Asked Questions
Why Pipe and Drape Safety Starts With the Base
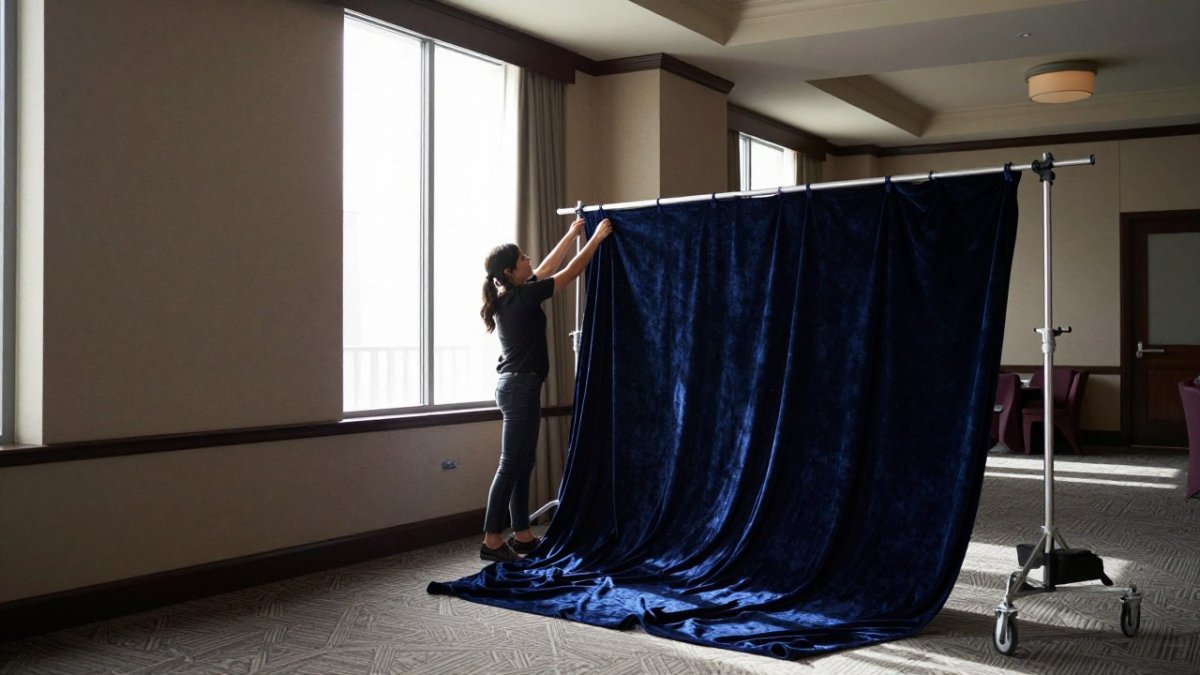
A pipe and drape system is a freestanding backdrop built from weighted baseplates, vertical uprights, horizontal crossbars, and fabric panels. The base carries every other part, so a weak base is where most failures begin.
Planners often spend more time on fabric color than on the feet. Then a drape leans, a panel sags, and the whole backdrop looks off.
Here is the short version:
- The baseplate is the anchor. Nothing else matters if it moves.
- Uprights must sit fully seated in the base pin, not resting on top of it.
- Crossbars need every locking collar tightened by hand.
- Fabric weight must spread across multiple attachment points.
Below, we walk through each step in order, from base weight to a final safety inspection. The goal is a backdrop that stays put through a full event day.
Pipe and Drape Base Plate Weight Requirements
Baseplate weight requirements depend on upright height, drape load, and floor conditions. Taller uprights and heavier fabric need more counterweight at the foot. A short backdrop on a flat floor needs less.
Use this as a working guide, then confirm against the manufacturer's rating for your specific hardware:
| Upright Height | Typical Base Setup | Extra Weight Needed |
|---|---|---|
| Up to 8 ft | Standard baseplate | Usually none |
| 8 to 12 ft | Standard baseplate | Add weight on carpet |
| 12 to 16 ft | Heavy baseplate | Add weight in most cases |
| Over 16 ft | Heavy baseplate plus ballast | Required, plus a second check |
Three rules to follow on every job:
- Never swap a heavy baseplate for a light one to save space.
- Stack weight low and centered, never on the outer edge.
- Check the base again after the fabric goes on, since the load changes.
Assembling Uprights, Crossbars, and Locking Collars
Assembly follows a fixed order: base first, upright second, crossbar third, fabric last. Skipping ahead is how collars get missed.
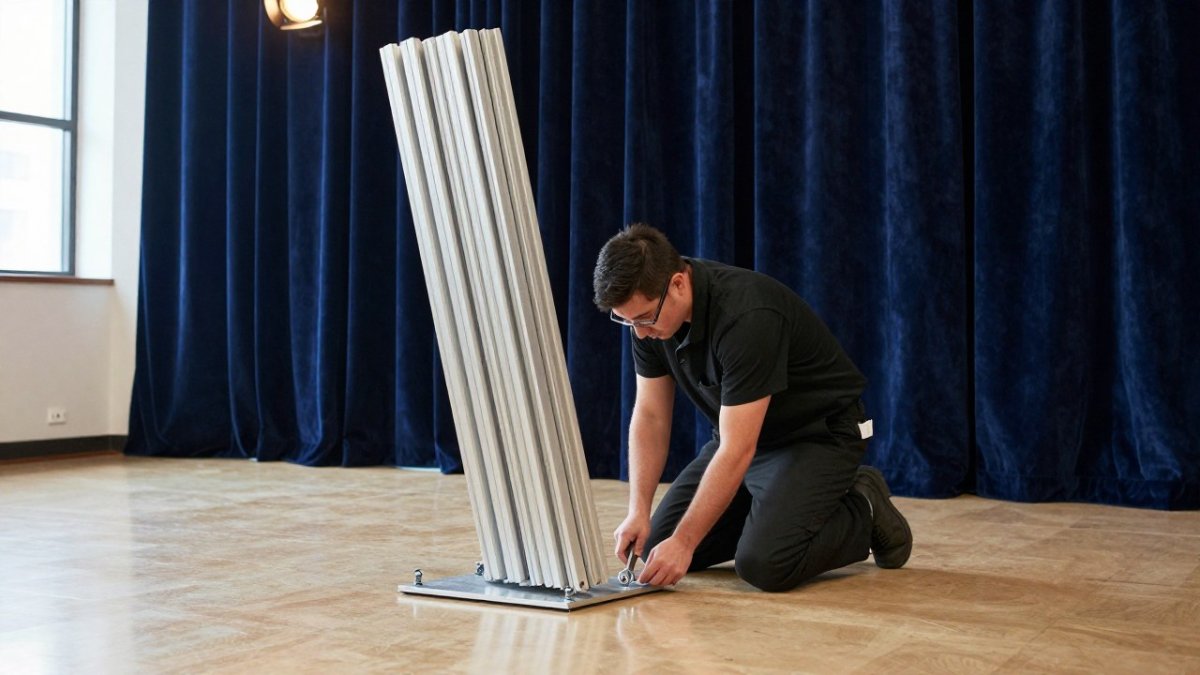
Step 1: Set and level the base. Place the baseplate flat. Slide the base pin through the plate and confirm it sits flush.
Step 2: Insert the upright. Slide the upright down over the base pin until it stops. It should not wobble.
Step 3: Extend to height. Raise the adjustable upright to your mark and tighten the collar.
Step 4: Attach the crossbar. Fit the crossbar into the upright connector and tighten every locking collar by hand.
Step 5: Recheck the frame. Push gently on each upright. Any movement means a loose collar or a base that is not seated.
For a full walkthrough of frame assembly, see our step-by-step pipe and drape installation guide.
Securing Pipe and Drape on Uneven Ground
Securing pipe and drape on uneven ground comes down to shimming and load balance. A sloped or cracked floor lets one side of the base lift, and a lifted base tips.
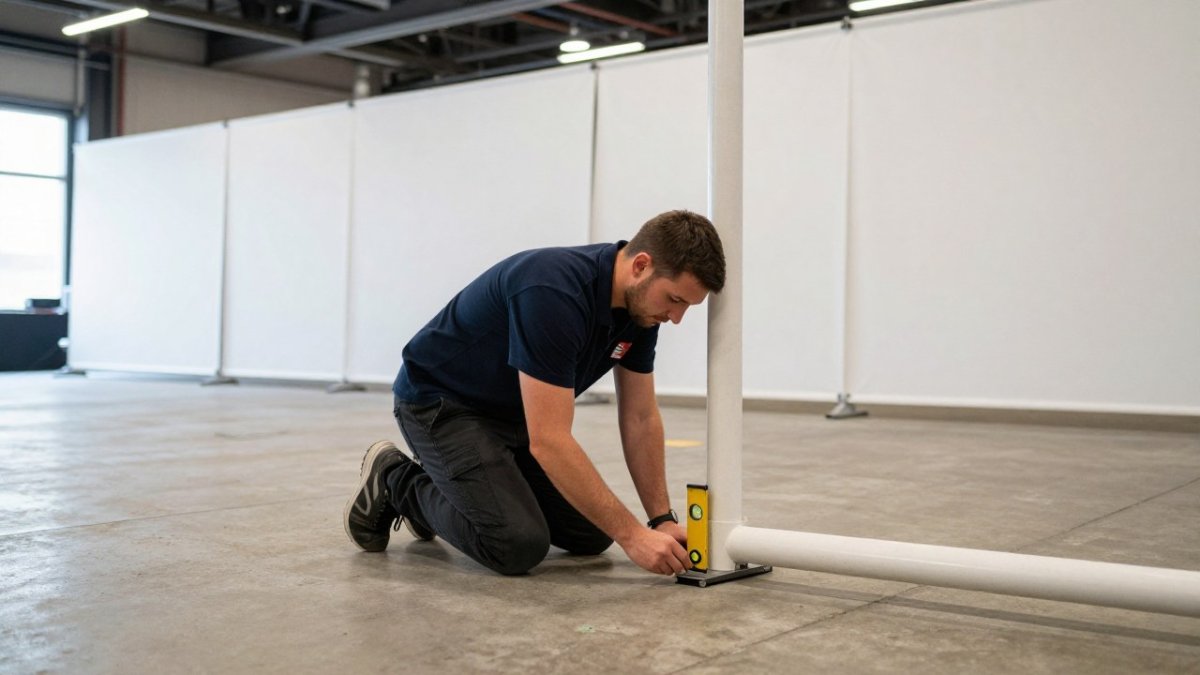
Work through these fixes in order:
- Shim the low side. Use rigid shims under the baseplate, not folded fabric.
- Re-level after shimming. Check the upright with a level before adding fabric.
- Spread the load. Move weight toward the center of the plate.
- Avoid soft surfaces. Grass, thick carpet, and risers all let a base settle.
- Recheck at load-in. Floors shift once crowds and equipment arrive.
Watch out: a base that rocks slightly when you press it will keep rocking all day. Fix it before the fabric goes up, not after.
Anchoring, Weighting, and Load Limits for Wind and Airflow
Airflow is a hidden load on any drape system, and it is one planners often overlook. A drape panel is a flat fabric surface, so it behaves like a sail: the larger the panel and the stronger the draft, the more horizontal force pushes at the top of the upright, and that force tries to rotate the whole frame over its baseplate edge.
Start with the manufacturer's load rating, not a guess. Upright and baseplate hardware typically has a published working load limit and a maximum upright height for a given base. Find that rating on the hardware label or spec sheet and treat it as a ceiling, not a target. If the rating is missing, do not deploy the hardware in a draft path.
Match ballast to the real conditions:
- Indoor, still air: standard baseplate, no added weight, provided the upright is within its rated height.
- Indoor near HVAC vents, loading doors, or high-traffic openings: add ballast and keep panels out of the direct draft.
- Outdoor or semi-outdoor: treat wind as a live variable. Any setup exposed to gusting conditions generally needs ballast plus a plan to lower or strike panels when wind picks up.
- Heavy fabric or signage hung from a crossbar: recalculate. Signage and props add both weight and sail area, and a crossbar is not a rigging point.
A few rules that prevent most airflow failures:
- Keep drapes at least a few feet clear of direct vent blasts and doorways where air moves fast.
- Stack ballast low and centered on the baseplate, never on the outer edge where it adds little counter-leverage.
- Never hang signage, lighting, or heavy props from a crossbar without confirming the crossbar and upright load limits.
- Outdoors, designate one person to watch wind all day and set a clear threshold for lowering panels.
Watch out: a backdrop that feels solid in still air can lean within minutes once a door opens or a vent cycles on, so recheck base seating and ballast after the room's air handling starts.
For deeper detail on tying down frames and distributing weight, read our guide on how to secure pipe and drape systems.
Pipe and Drape Safety Standards and Working Heights
Pipe and drape safety in the United States comes down to two separate risk areas: stable hardware at floor level and safe work at height. Venues often apply fire and life safety rules to fabric on site, so confirm those with the venue before load-in.
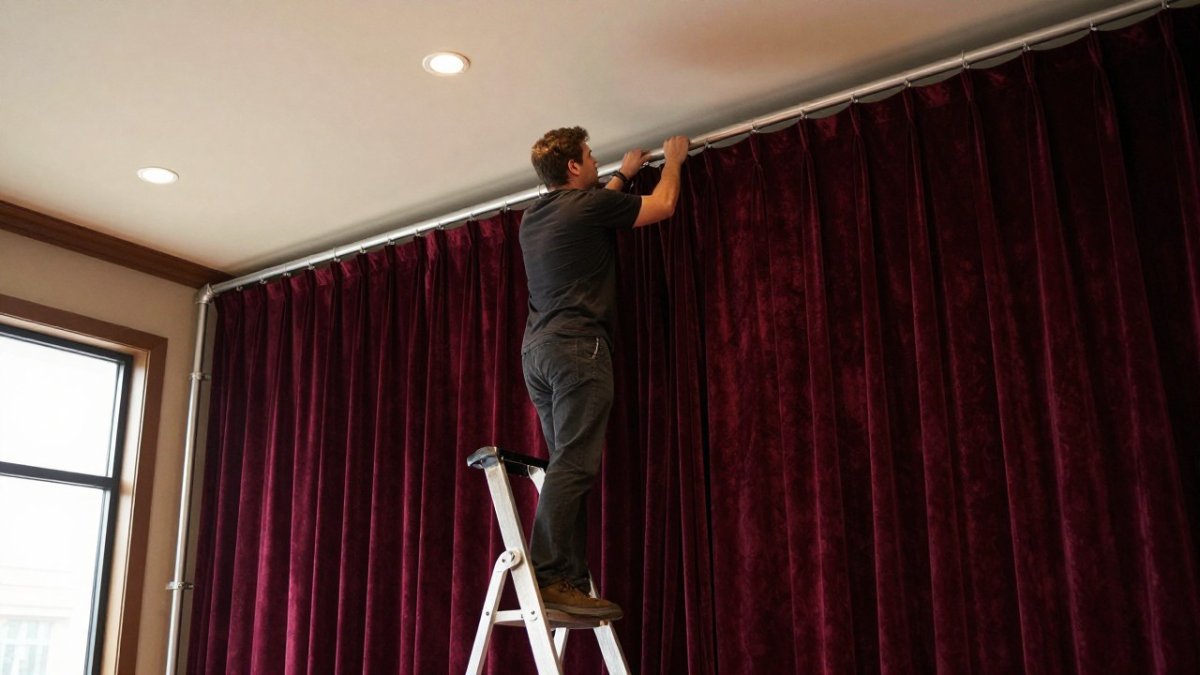
Freestanding versus suspended draping. A freestanding system stands on its own baseplates and needs no ceiling attachment. Suspended draping hangs from overhead structure, and that is a different job with different rules. Do not attach pipe and drape to ceilings, beams, sprinkler pipe, or lighting truss on your own. Overhead attachment requires a qualified rigger and venue approval, and in most venues it also requires a written rigging plan. If a layout seems to need a ceiling connection, stop and bring in the venue and a rigger rather than improvising.
Working heights. Before anyone climbs, confirm the working height is within the rated range of the upright and that the access equipment matches the job:
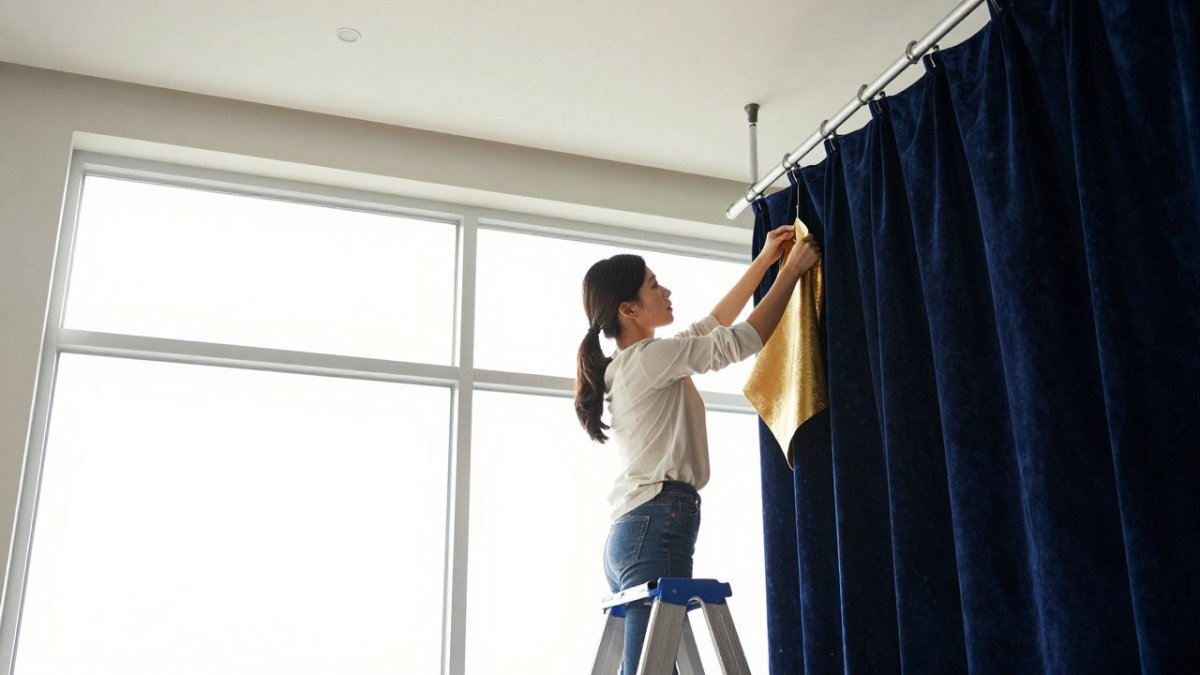
- Use a stable ladder or a lift rated for the height, never a chair, table, or stacked riser.
- Two people handle tall uprights and long crossbars; one person alone cannot control a 14 ft upright in a draft.
- Keep overhead paths clear of lighting truss, sprinkler heads, and ceiling fixtures.
- Follow OSHA ladder safety guidance for work at height and NFPA fire code resources for fabric placement and clearance.
Accessibility and egress. Temporary partitions change how people move through a space, so plan crowd flow before you place a single baseplate:
- Keep exits, accessible routes, fire equipment, and high-traffic paths clear of bases and drapes.
- Leave enough clearance at exits that a panel cannot swing or fall into the egress path.
- Do not block fire extinguishers, alarm pulls, or sprinkler coverage.
Risk-based guidance by environment. Treat each setting differently rather than applying one recipe:
- Indoor flat floors: standard baseplates, standard heights, recheck after crowds arrive.
- Uneven or soft surfaces: shim and re-level, and expect bases to settle.
- Outdoor setups: ballast heavily, watch wind all day, and plan to strike panels.
- Tall installations: use heavy baseplates plus ballast and two-person handling.
- Overhead rigging: qualified rigger and venue approval only.
For temporary partitions specifically, our article on temporary event partition safety standards covers the requirements in more depth.
A Pre-Opening Safety Inspection and Stop-Use Criteria
Run this inspection after setup and before doors open. It takes a few minutes and catches almost every problem.
- Every baseplate sits flat with no rocking
- Each upright is fully seated on its base pin
- All locking collars are hand-tight
- Crossbar connectors are locked at both ends
- Fabric is attached at multiple points, not one
- No panel touches a heat source or light fixture
- Aisles and exits stay clear of bases and drapes
- Ballast is centered and stable
Stop use and fix the setup if any of these appear:
- A base lifts when you press the upright
- A collar turns freely by hand
- Fabric pulls one upright out of line
- Any part shows cracks, bends, or missing pins
For fabric and decor fire requirements, our fire safety guide for event decor walks through what to check. Following OSHA ladder safety guidance for work at height and NFPA fire code resources for fabric placement covers the two biggest risk areas.
Request a Quote for Professional-Grade Pipe and Drape
Getting the base and frame right is the whole job. Weight, seating, collars, and inspection decide whether a backdrop stands safely all day.
Event Drape Rental supplies drapes from 12 to 30 feet tall in over 100 colors and 6 fabric materials, with DIY or professional installation options. To get started, request a quote for pipe and drape.
A leaning backdrop is a safety problem, not a design problem. Event Drape Rental can take that risk off your list with tall drape options up to 30 feet, a wide color range to match brand guidelines, and professional installation when your timeline is tight. Get started with Event Drape Rental and open your event with a backdrop you do not have to think about.
Frequently Asked Questions
How do you prevent pipe and drape from tipping over?
Preventing tipping starts with the base: use a baseplate sized to the upright height, add weight or sandbags where the setup is exposed, and lock every collar and connector so the frame cannot shift. Distribute fabric weight across multiple attachment points rather than bunching it on one crossbar. On uneven ground, shim the baseplate so it sits flat, and keep the center of gravity low by avoiding top-heavy drape loads.
What size base plate is needed for 12-foot pipe and drape?
A 12-foot upright needs a larger, heavier baseplate than a standard 8-foot upright, and the exact size depends on the manufacturer and whether the system is free-standing or anchored. Check the system's rated capacity before setup, and never pair a tall upright with a small baseplate. If you are unsure, ask your rental provider to match baseplates to upright heights, and add sandbags on any run exposed to foot traffic or airflow.
Are sandbags required for all pipe and drape setups?
Sandbags are not required on every setup, but they are strongly recommended wherever the system is free-standing, exposed to airflow from doors or HVAC vents, or placed near walkways. Weighting the base improves stability and reduces collapse risk. For low-traffic, fully enclosed backdrops, a properly sized baseplate may be enough. When in doubt, add weight: it is cheaper than a collapsed drape during an event.
How much weight should be placed on a base plate?
There is no single number that fits every setup. The weight needed depends on upright height, drape fabric weight, and whether the system is anchored. Follow the manufacturer's load rating for the baseplate and add sandbags incrementally until the frame feels solid when gently pushed. For tall uprights or exposed runs, use multiple sandbags per base and recheck stability after hanging fabric. Your rental provider can advise on weighting for the specific system.