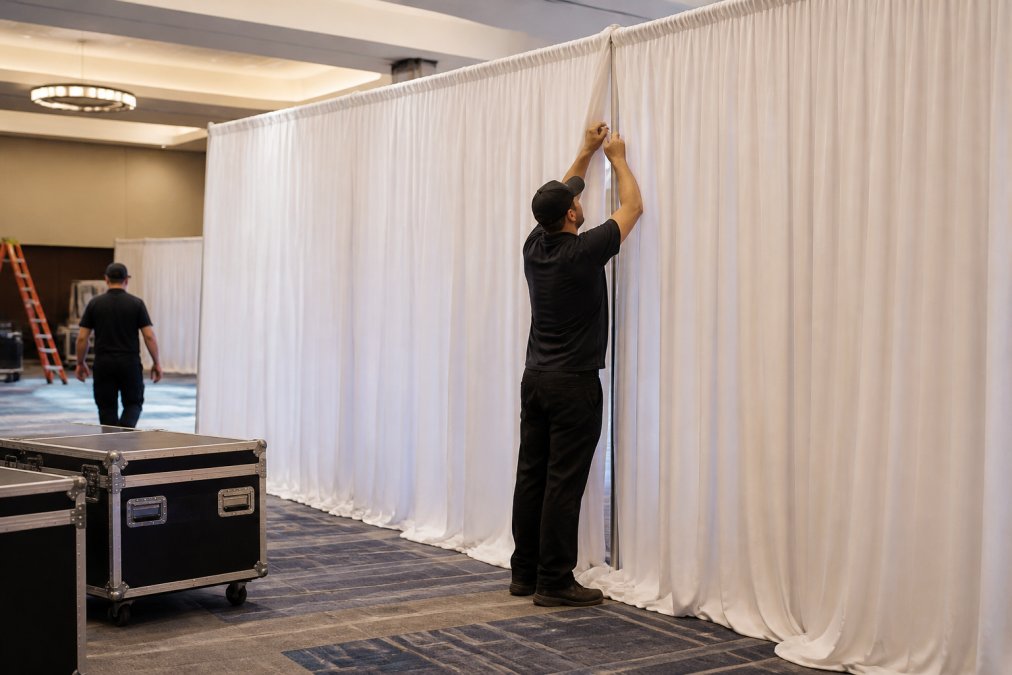
 how-to
How to Drape a Room Professionally: 2026 Setup Guide
Table of Contents
- What You'll Need Before You Start Draping
- How to Calculate Pipe and Drape Height and Fabric Amounts
- Step-by-Step: How to Drape a Room Like a Professional
- Essential Pipe and Drape Installation Tips for a Seamless Setup
- Ceiling Draping vs. Wall Draping: Choosing the Right Technique
- Avoiding Wrinkled Drapes for Event Rentals: Fabric Care on Site
- Safety, Load-Bearing, and Fire Regulations You Must Follow
- Troubleshooting Common Installation Failures
- Frequently Asked Questions
Last Updated: September 9, 2026
What You'll Need Before You Start Draping
Professional room draping uses fabric panels, pipe and drape hardware, and tension systems to transform a plain venue. Before hanging a single panel, you need the right equipment and a clear plan of the room's dimensions.
Essential hardware includes base plates, uprights, crossbars, and drape support clamps, plus a tape measure, laser level, and a ladder rated for the ceiling height. For fabric, choose between sheer voile, satin, or velvet based on the event aesthetics.
Event Drape Rental provides drapes ranging from 12 to 30 feet in height. A common mistake is ordering fabric without confirming the support system can handle the weight. Confirm rigging points and load-bearing capacity before committing to a layout.
How to Calculate Pipe and Drape Height and Fabric Amounts
Calculating how to drape a room professionally starts with accurate math. Measure the wall length or ceiling span, then divide by the width of each fabric panel to determine how many panels you need.
For standard systems, uprights support crossbars at 8 to 10 feet. For full coverage, fabric should pool slightly on the floor. Add 10 to 15 percent to total fabric length for gathering and pleating; a gathered look needs roughly double the flat fabric width.
Panels come in standard widths; Event Drape Rental offers multiple materials. A 40-foot wall with 8-foot panels needs five panels for a flat hang, or ten for heavy gathering. For ceiling canopy work, calculate the ceiling's square footage and add 20 percent for swagging.
| Coverage Type | Measurement Needed | Fabric Allowance |
|---|---|---|
| Wall backdrop | Wall length x height | +10-15% for pooling |
| Room divider | Span width x height | Double width for gathering |
| Ceiling canopy | Ceiling area sq ft | +20% for swag effect |
Step-by-Step: How to Drape a Room Like a Professional
Professional drape a room work follows a consistent sequence: build the support structure, tension it correctly, then hang and style the fabric. Rushing the first step causes every later step to fail.
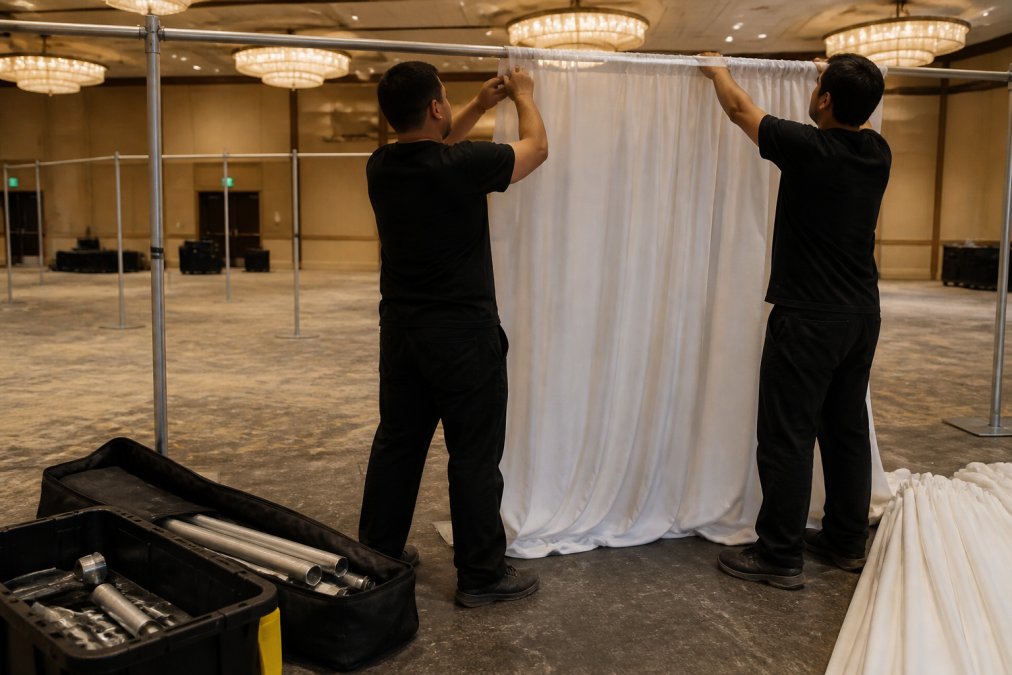
Step 1: Set Up Base Plates and Uprights
Position each base plate on the floor where you want the upright to stand. Slide the upright into the base plate socket and tighten the locking pin. Check that every upright is plumb using a level before moving to the next one.
Step 2: Attach Crossbars and Tension
Fit the crossbar into the top of each upright. For spans longer than one crossbar, connect sections using the manufacturer's couplers. Apply tension by adjusting the upright height so the crossbar sits firmly without bowing in the middle.
Step 3: Hang and Gather Fabric Panels
Clip the fabric panels to the crossbar using drape pins or clamp systems. Start at one end and work across. For a gathered look, pinch the fabric at regular intervals and secure it with ties before draping the next panel.
Step 4: Finish Edges and Focal Points
Tuck raw edges behind the end panels so no hardware shows. At the center of the backdrop, add uplighting or a decorative swag to create the focal point. Walk the full length of the installation and adjust any panels that hang unevenly.
Essential Pipe and Drape Installation Tips for a Seamless Setup
Pipe and drape installation tips that separate professionals from amateurs come down to tension and symmetry. A backdrop that looks straight from 20 feet away can look sloppy up close if panels are unevenly spaced.
Work with a partner: one holds the fabric while the other clips it to the crossbar, preventing twisting. Set your gathering pattern before you start, every 18 or 24 inches, and stick to it across the entire run.
When covering corners, use a corner bracket rather than forcing a straight crossbar around the bend; this maintains tension and prevents sagging. Always double-check that base plates are weighted, unweighted plates shift when fabric is pulled, causing the run to lean.
Ceiling Draping vs. Wall Draping: Choosing the Right Technique
Ceiling and wall draping serve different purposes. Wall draping defines a backdrop or hides an ugly wall; ceiling draping transforms the room by lowering visual height and adding warmth.
Wall draping is simpler and safer, requiring a straight run of uprights and crossbars along the wall. Ceiling draping requires load-bearing rigging points in the ceiling, rated for the fabric weight.
For ceiling work, confirm the structure can support the load, canopy fabric is heavy, especially velvet. Without rated rigging points, you cannot safely install a full ceiling treatment without additional structural engineering.
Ceiling draping suits galas and weddings; wall draping is better for trade show booths and corporate backdrops where the goal is to define a space rather than envelop it.
Avoiding Wrinkled Drapes for Event Rentals: Fabric Care on Site
Avoiding wrinkled drapes for event rentals starts before the fabric leaves the warehouse, but on-site care determines the final look. Drapes that ship folded show crease lines unless handled correctly. The process does not end when the event is over, post-event teardown and storage are where fabric gets permanently damaged.
On-Site Wrinkle Management
Hang fabric as soon as it arrives; sitting in a bag for hours develops permanent creases, especially in warm or humid conditions. For light wrinkles after hanging, use a handheld steamer on the lowest setting while fabric is on the crossbar. Never pull or stretch fabric to remove wrinkles, this distorts the weave and creates a wavy edge.
Sheer voile wrinkles often fall out within an hour of hanging; velvet and heavier materials usually require steaming. Test the steamer on a small corner first to confirm it does not leave water spots. Distilled water prevents mineral deposits from leaving white marks on dark fabric.
Teardown: The Reverse Process Matters
Teardown is where most DIYers cause damage. Remove each clip individually, starting from one end; pulling fabric while clipped creates snags and tears. Fold each panel accordion-style into a loose bundle rather than rolling it tightly, tight rolling sets creases that are nearly impossible to remove without professional pressing.
Storage: The Hidden Cause of Wrinkles
Storage conditions determine whether drapes are ready for the next event. Fabric should be stored flat or hung on a wide bar, never compressed. Polyester and voile can be folded if padded with acid-free tissue paper. Velvet should always be hung, its pile crushes permanently under its own weight.
Climate control is critical. Fluctuating temperatures cause condensation and mildew spots that no steamer can remove. Keep storage below 70 percent relative humidity. For storage over a month, inspect quarterly for mildew, insect damage, and fading.
Cleaning and Re-Certification
Clean fabric before storage; dirt and body oils embed in fibers and attract pests. Dry cleaning is standard for velvet and satin; polyester can often be machine-washed on gentle, but check the label first. If fabric has a topical flame-retardant treatment, cleaning may strip it, re-verify that it still meets NFPA 701 standards before public use.
Pre-Conditioning for Rental Inventory
Event Drape Rental pre-conditions fabric by steaming, pressing, and folding each panel using a standardized method. If handling drapes yourself, schedule installation early enough for steaming, allow 30 minutes of steaming time for every 50 linear feet of fabric.
The 24-Hour Rule
The 24-hour rule: fabric hung at least 24 hours before an event sheds most minor wrinkles on its own, especially in air-conditioned spaces. If installing the day of the event, budget for aggressive steaming and accept that heavier fabrics may not reach a perfectly smooth finish.
Safety, Load-Bearing, and Fire Regulations You Must Follow
Safety is the part of professional room draping nobody talks about until something goes wrong. Every fabric panel must meet fire-retardant standards, and every support structure must be rated for the weight it carries.
Fire-Retardant Certification: What to Verify
In the United States, drapery used in public spaces must meet the fire safety codes established by the National Fire Protection Association standards, specifically NFPA 701. This standard tests the flame propagation of textiles. Commercial venues typically require fabric that is permanently flame-retardant, not just treated with a topical spray that wears off after cleaning or exposure to humidity.
Before installing, ask your supplier for a certificate of compliance or test report from a third-party lab like UL or Intertek. The document must list the specific fabric lot number and state it passes NFPA 701, do not accept a generic website statement. For reused fabric, check whether the treatment is permanent; topical treatments typically last 6 to 12 months or a limited number of dry-clean cycles, after which fabric must be retreated and re-certified.
Load-Bearing Calculations for Ceiling Rigging
Load-bearing calculations matter most for ceiling draping. Each rigging point has a rated capacity, usually printed on the beam or available from the venue's building manager. Know the combined weight of fabric, crossbars, and hardware, then confirm it does not exceed that rating.
Weigh one linear foot of fabric on a luggage scale and multiply by total linear feet. For example, velvet at 1.5 pounds per linear foot over 100 feet weighs 150 pounds. Add crossbar weight (5 to 8 pounds per 10-foot section) and hardware (2 to 3 pounds per rigging point). Divide total weight by the number of rigging points for per-point load. If it exceeds any point's rating, add more rigging points or switch to lighter fabric.
Most commercial rigging points are rated for 100 to 500 pounds, but never assume, ask for the venue's load rating in writing. When in doubt, consult a structural engineer before hanging anything overhead. A falling ceiling drape is a liability event.
Base Plate Weight and Tipping Resistance
Base plates must prevent tipping. A tall upright with heavy velvet creates significant lateral force, especially in drafty rooms or when guests brush against the drape. Standard steel plates weigh 25 to 40 pounds. For uprights taller than 12 feet or heavier fabric, use a wider footprint or add sandbags. A rule of thumb: base plate weight should be at least 10 percent of the total weight above it.
Working at Height
OSHA guidance on portable ladder and scaffold safety applies when your installers are working at height to attach ceiling drapes. OSHA requires that ladders extend at least 3 feet above the landing surface and that workers maintain three points of contact (osha.gov). For ceiling work above 10 feet, a scaffold or an aerial lift is often safer than a ladder. If you are using a ladder, ensure it is rated for the combined weight of the installer and the tools they are carrying.
Documentation and Liability
Keep copies of load calculations and fire-retardant certificates on site during the event; venue managers and fire marshals may ask to see them. For rental companies, this documentation also protects against liability if a client adds weight without your knowledge. A professional installation can be defended in writing, not just visually.
Troubleshooting Common Installation Failures
Even experienced installers hit problems. The most common failure is sagging fabric mid-span, caused by a crossbar bowing under fabric weight or uprights not tensioned high enough.
Fix sagging by adding a center support upright for spans over 15 feet. If the crossbar flexes, use a heavier-duty one rated for the span. Fabric that will not hang straight usually traces back to uneven base plate placement.
If panels gap at seams, gathering is too tight, loosen and redistribute evenly. If fabric tears at clip points, panels are overloaded or clips are too sharp; switch to wider clips designed for heavier fabric.
If ceiling drapes pull loose from a rigging point, stop immediately, a falling drape is a serious hazard. Re-evaluate rigging hardware and confirm the load rating before continuing.
A professional finish comes down to preparation, correct hardware, and knowing the limits of your materials. When you need drapes that meet fire codes and install cleanly, Event Drape Rental's inventory and installation options offers fabric in over 100 colors and multiple materials with heights up to 30 feet.
Frequently Asked Questions
How do you prevent wrinkles in event drapes?
Start with fabric that ships folded, not crushed. Unroll panels immediately upon arrival and hang them as soon as possible to let gravity pull out minor creases. For stubborn folds, use a handheld steamer on the lowest setting while the drape is hanging; never iron synthetic fabrics like polyester or chiffon directly. If you are renting, ask the supplier how the fabric is folded and delivered. Professional-grade rental houses press and fold drapes on large rollers specifically to avoid sharp creases that are hard to remove on site.
How much does professional draping cost?
Pricing depends on several variables rather than a flat per-foot rate. The total is driven by the square footage of fabric needed, the height of the ceiling, the fabric type you select, and whether you require professional installation or plan a DIY setup. Venue access and delivery distance also factor into the quote. For an accurate number, request a detailed quote from Event Drape Rental with your venue dimensions and event date. Bulk orders for large conferences or galas often qualify for volume pricing, so ask about quantity discounts.
How do you calculate the amount of fabric needed for a room?
Measure the linear feet of wall or ceiling perimeter you plan to cover, then multiply by the drop height. For a gathered look, multiply the linear measurement by 2.5 to 3 to account for pleating and fullness. For example, a 20-foot wall with a 10-foot ceiling needs roughly 600 square feet of fabric if you use a 3:1 fullness ratio. Always add 10 percent extra for waste, seams, and adjustments at corners. When calculating pipe and drape height, remember the uprights must be 12 to 18 inches shorter than the ceiling to allow for base plates and clearance.
What are the most common mistakes when installing pipe and drape?
The most frequent errors are skipping base plate weights, which causes toppling, and failing to tension crossbars properly, which leads to sagging fabric. Another common mistake is miscalculating vertical height and ordering drapes that drag on the floor or leave a gap at the top. Many installers also forget to check fire-retardant certifications before setup, which can cause problems at venues with strict safety inspections. Finally, rushing the fabric hanging process creates uneven gathers. Take time to space pleats consistently across each panel for a professional finish.
Professional room draping does not have to be intimidating, but it does require respect for the physics and safety rules involved. Measure carefully, choose the right fabric for the effect, and never compromise on load-bearing hardware. Event Drape Rental supports both DIY installers and those who prefer professional installation, with drapes from 12 to 30 feet and fabric options that match your event aesthetics. Request a quote to get started on your next room transformation.