 how-to
How to Transport Tall Telescoping Pipe Systems Safely
Last Updated: November 1, 2026
Quick Summary
To transport tall telescoping pipe safely, measure the fully extended height against the vehicle and route clearances first, then lock every section at transport length, couple the sections together, and strap the bundle at several points with padding. Recheck the locks and straps after the first few miles.
- Measure the fully extended height and compare it with the cargo box height and route clearances before loading.
- Lock each telescoping section at its transport length and verify by hand that it does not creep.
- Couple the nested sections together at two or more points so the bundle moves as one unit.
- Place straps near each end and one or two in the middle, spaced no more than roughly 4 to 5 feet apart.
- Stop after the first few miles to recheck locks, couplings, and straps, since vibration can loosen them.
Table of Contents
- Choosing the Right Vehicle and Planning Dimensions
- How to Secure Pipes for Transport
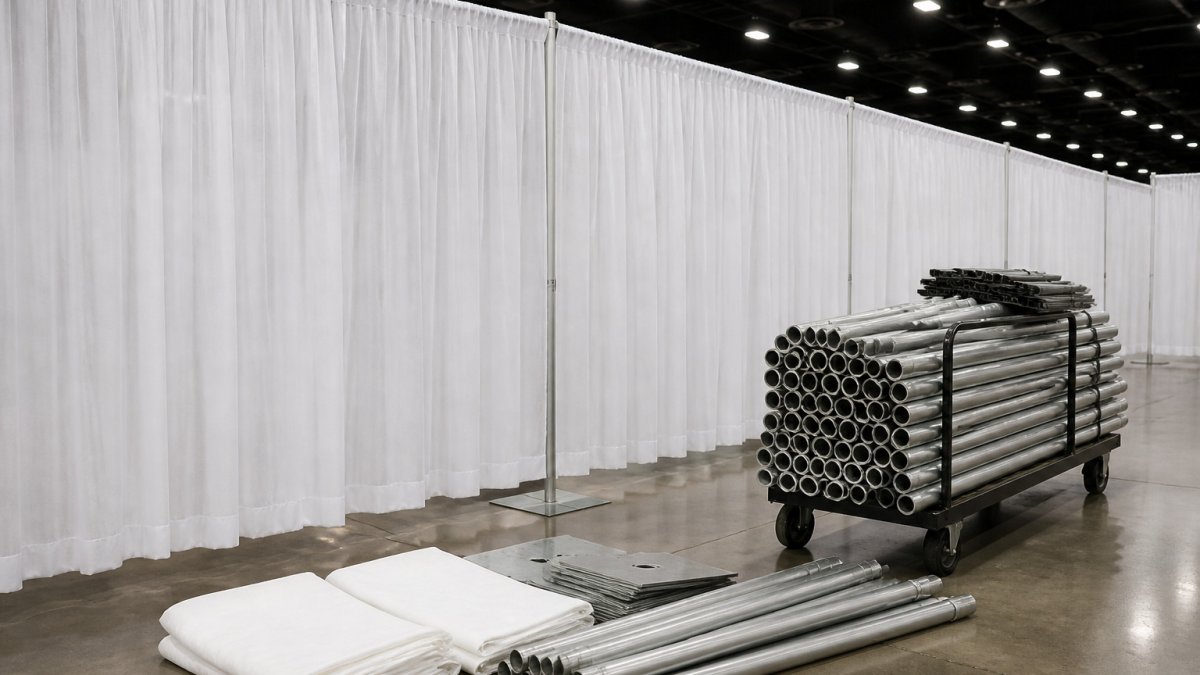
- Using a Pipe Transport Trolley for Short Moves
- Step-by-Step Loading and Unloading for Tall Systems
- How to Transport 20 ft PVC Pipe Without Bending It
- Pipe Handling and Storage Between Events
- Booking Your Pipe and Drape Order With Event Drape Rental
- Frequently Asked Questions
Tall telescoping pipe systems are a common part of pipe and drape setups at weddings, corporate galas, and trade shows, and knowing how to transport tall telescoping pipe safely starts before the load leaves the warehouse.
The telescoping design adds its own risk. Each section slides inside the next, and the sections can creep out of position during a bumpy drive. Crews can underestimate how much a loose section shifts.
Most of the advice below applies to any tall pipe system. Where a step depends on the height or the sections, we say so.
Key factors to plan for:
- Total extended height and how it fits the vehicle
- Weight of each section and how the load is balanced
- Whether the sections are locked at the correct length
Choosing the Right Vehicle and Planning Dimensions
Choose the vehicle by measuring the system before you load it. Measure the fully extended height, the length, and the weight of the bundle.
Plan a margin on every dimension. A system that barely fits on paper often does not fit once the load shifts.
Planning checklist:
- Record the fully extended height of the tallest system
- Confirm the cargo box height and door opening clearance
- Check bridge, overpass, and parking garage height limits on the route
Watch out: Overhead clearance is the most common reason a load gets stuck. Check the route height, not just the venue address, before you leave.
How to Secure Pipes for Transport
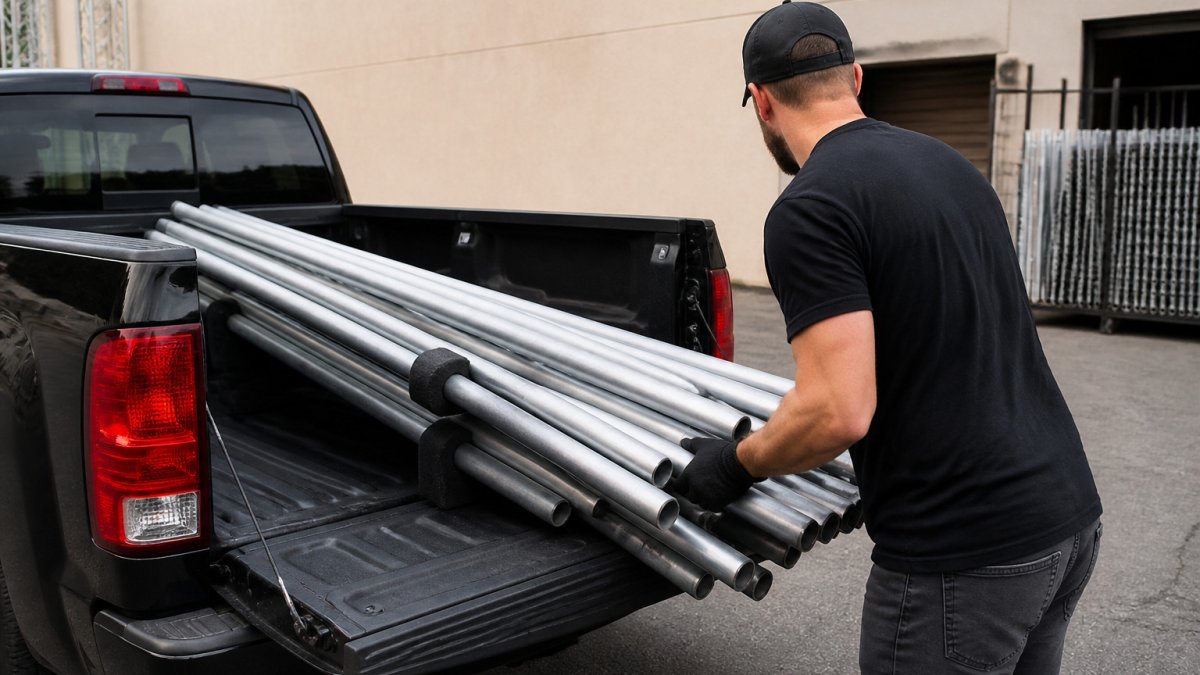
A telescoping system is not a bundle of solid pipe. Each section is a sliding joint, and a sliding joint under vibration wants to extend. The securing job has two parts when you transport tall telescoping pipe: keep the bundle from moving in the vehicle, and keep each section from moving inside the bundle. Most generic pipe-securing advice covers only the first part.
Step 1: Lock and verify every section
Lock each telescoping section at its intended transport length before the bundle goes anywhere near the vehicle. Then verify the lock by hand: push the section toward extension and confirm it does not creep. A lock that feels engaged but slips under hand pressure will slip under highway vibration.
Step 2: Couple the sections to each other
Locking each section stops it from extending on its own. It does not stop sections from sliding apart from each other. Tie or clamp the nested sections together at two or more points along the bundle so the group behaves as one rigid unit. Use padded clamps or soft ties; metal-on-metal contact at a joint is how dents start.
Step 3: Block against extension
Even with locks engaged, add a physical block against extension at the bundle ends, a padded stop, a strap wrapped around the end section and anchored to the bundle, or a clamp positioned so the section cannot travel. This is the belt-and-suspenders layer that catches a lock that fails mid-route.
Step 4: Place straps at the right points
Place straps across the bundle at several points rather than in one spot. Maintaining this delicate balance between security and structural integrity remains essential when packing fragile items to ensure they arrive at your destination without hidden internal fractures.
Use a barrier layer, blankets, a moving pad, or a cover, between the pipes and every strap point and every metal edge.
Step 5: Recheck after the first few miles
Vibration settles a load. Stop after the first few miles, walk the bundle, and recheck every lock, every coupling, and every strap. A lock that felt secure at the warehouse can loosen once the vehicle is at highway speed. Re-tension straps that have slackened.
Step 6: Inspect on arrival
Before unloading, inspect the bundle for shifted sections, a loosened strap, or a lock that popped during the drive. Check the joints and tube ends for dents, cracks, and contamination. Note any damage in your records so it is repaired before the next event, a small dent at a joint becomes a binding section on the next setup.
Using a Pipe Transport Trolley for Short Moves
Use the trolley only on smooth, level surfaces. For more detailed methods on securing pipe and drape systems, see How to Secure Pipe and Drape Systems. Roll the load slowly, and keep the tall end controlled at all times. For anything beyond a short move, use the vehicle and strap the load as described above.
Step-by-Step Loading and Unloading for Tall Systems
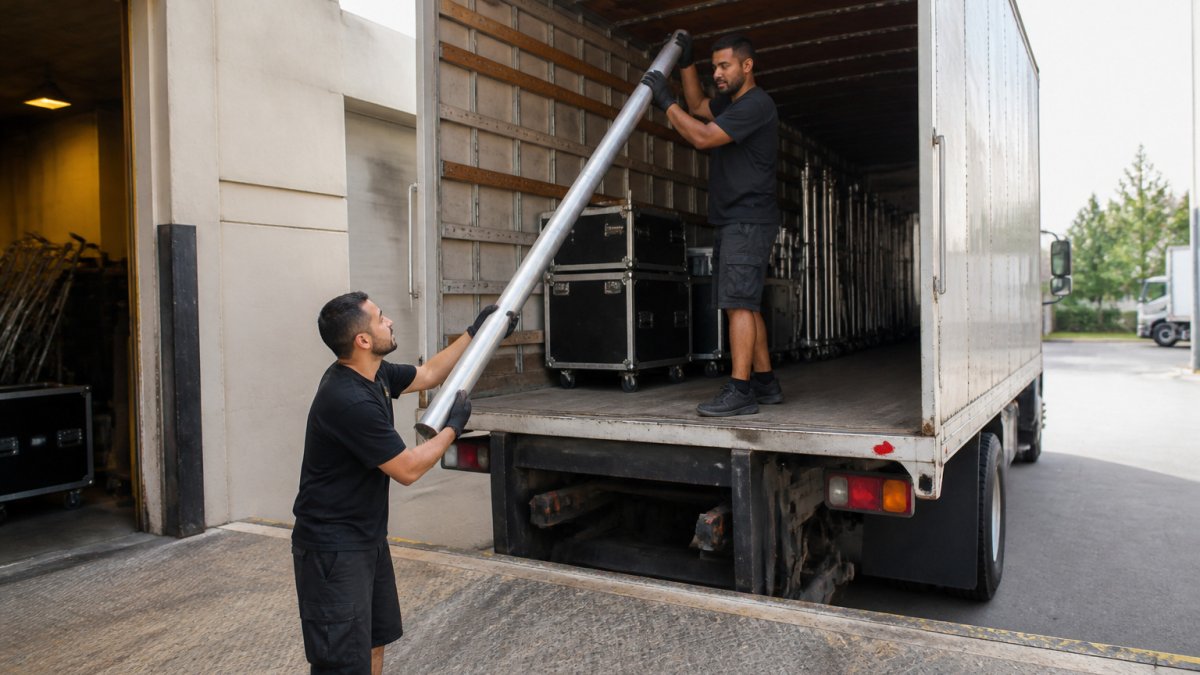
Tall telescoping systems can be damaged at the loading dock as well as on the highway. The reason is simple: a 20- to 30-foot bundle has a long lever arm, and one person at the wrong end can swing the whole load. Plan the load and the unload as one workflow, assign roles before anyone lifts, and move the bundle in controlled stages rather than in one heroic push.
Before the vehicle arrives
- Collapse every section to its shortest locked length. A telescoping system that is still extended is a 30-foot lever, not a manageable bundle. Confirm each section is fully nested and the lock pin or collar is engaged.
- Stage the sections in reverse load order. The pieces that go in first come out last, so lay them out on the dock in the order they will be unloaded at the venue. This alone removes most of the re-handling that causes dents.
- Assign roles. A three-person crew is the practical minimum for systems above about 16 feet: one person at each end and one spotter who controls the path and the door. For shorter or lighter bundles, two people can work if one acts as the spotter.
- Inspect the equipment. Check the straps for cuts and frayed edges, confirm the ratchet mechanisms engage, and verify the padding and blankets are clean and dry. A strap that failed on the last job is not a strap.
- Clear the path and the door. Measure the door opening, remove trip hazards, and confirm the vehicle is chocked and the ramp is rated for the load.
Loading
- Lift with the bundle horizontal, not vertical. Two people lift from the ends while the spotter keeps the path clear. Never lift a tall section by the top; the joint is the weakest point.
- Load the heaviest sections first, low and centered over the axle. Weight over the axle keeps the vehicle stable and reduces the chance of the tail wagging on the highway.
- Feed the bundle in from the rear, with the leading end controlled. One person walks the leading end into the cargo box while the other supports the trailing end. The spotter watches the roofline and the door header.
- Seat each section before adding the next. Do not let sections rest on each other's joints. Use the padding layer between every contact point.
- Strap, then recheck the locks. Strapping can shift a section just enough to release a lock. Walk the bundle once more and confirm every lock is still engaged.
- Close the door and do a final walk-around. Push on the bundle through the door opening; if it moves, add a strap.
Unloading
- Open the door and inspect before you touch anything. Look for shifted sections, a loosened strap, or a lock that popped during the drive. Note any damage before unloading so it is documented.
- Remove the straps in reverse order, but keep one strap on until the bundle is at the tailgate. The last strap is your brake against a section sliding out.
- Unload the lightest sections first. This reduces the height of the stack and the distance any piece can fall.
- Lower, do not drop. Two people lower each section to the ground while the spotter controls the landing zone. Set sections down on padding, not on concrete.
- Inspect each section as it comes off. Check the joints, the lock collars, and the tube ends for dents or contamination. Flag anything questionable before it goes to the setup crew.
For the setup side of the job, see our Pipe and Drape Installation Guide for DIY Events.
The loading and unloading steps are easy to get wrong, so this table lists each stage with the action and the crew size or timing the article gives.
| Stage | Action | Key detail |
|---|---|---|
| Before arrival | Collapse every section | Shortest locked length |
| Before arrival | Assign roles | Three people above about 16 ft |
| Loading | Lift horizontally | Two people lift from the ends |
| Loading | Load heaviest first | Low and centered over the axle |
| Loading | Recheck locks after strapping | Strapping can release a lock |
| Unloading | Keep one strap on | Until bundle is at the tailgate |
| Unloading | Unload lightest first | Reduces stack height |
How to Transport 20 ft PVC Pipe Without Bending It
Use padding between the pipe and any metal edge. A small dent or scratch can start a crack later. Stack pipes so the weight rests on the strongest sections.
Pipe Handling and Storage Between Events
Store the sections fully supported on a flat rack, with the locks released and the sections clean and dry. Keep the drape fabric covered so it does not collect dust or moisture. Store the system in a place with stable temperature.
Inspect each section for dents, cracks, and bent tubing before you store it. Note any damage in your records so it is fixed before the next event.
Booking Your Pipe and Drape Order With Event Drape Rental
Event Drape Rental offers pipe and drape systems from 12 to 30 feet tall. Pricing depends on the quantity, the event dates, and the delivery location, so we recommend requesting a quote for an accurate figure.
To start an order, send your venue height, your color choice, and your event date through our Request a drape quote fast and easy form. Browse the fabric options on our SUPER VEL 8 OZ DRAPE page before you choose.
For help with setup and handling plans, see our Pipe and Drape Installation Guide for DIY Events. If you need to plan your system height, our How to Calculate Pipe and Drape Height guide walks through the numbers step by step.
Frequently Asked Questions
How do you secure telescoping pipes in a vehicle?
Lay pipes flat or in a rack where possible, and keep telescoping sections fully collapsed or pinned at the locked height so they cannot slide during braking or turns. Use ratchet straps anchored to the vehicle's tie-down points, placing straps across the top layer and around the load column. Check tension after the first few miles and again at every stop, since loads settle as the vehicle moves. Pad contact points with foam or cardboard to prevent scratching and denting of the finish.
Can telescoping pipe sections be transported while assembled?
Transporting assembled telescoping sections is generally possible only when the locking pins or clamps are engaged at the set height and the vehicle has clearance for the full length. Assembled uprights are more vulnerable to bending at the joints, so support them at multiple points and avoid stacking heavy items on top. If the system is tall enough to exceed the vehicle's interior height, disassemble it into shorter sections before loading, and label each section so reassembly on site is quick and accurate.
How do you load and unload tall pipes without damaging them?
Plan two people for any pipe over about 8 feet, and lift from the middle rather than the ends to reduce bending. Slide the pipe onto the bed rather than dragging it across the floor, which can scratch finishes and bend thin-walled tubing. Lower sections gradually and set them on padded surfaces. Remove straps in reverse order of how they were applied so the load does not shift unexpectedly as tension is released.
How do you transport 20-foot PVC pipe?
Keep at least two supports under the load and secure it at both ends with straps that will not crush the pipe. Store the pipe away from direct sun and heat when it is not in transit.