 how-to
Custom Pipe and Drape Setup Guide for Event Pros
Last Updated: November 3, 2026
Quick Summary
A custom pipe and drape setup is a modular backdrop system of adjustable uprights, crossbars, weighted base plates, and fabric panels configured to fit a specific venue. Set it up by marking the footprint, placing base plates, inserting uprights, attaching crossbars, checking plumb, then hanging fabric at a 50% pleating ratio.
- Mark the footprint first, since skipping layout is the most common reason a wall ends up uneven.
- The industry standard 50% pleating ratio means 15 feet of fabric for every 10 feet of wall space.
- Standard hardware tops out around 12 feet, while 15 to 40 feet requires specialized setup.
- Velour is the heaviest common fabric, needing the most base weight and closest upright spacing.
- Wipe uprights and crossbars with a dry cloth before storage and store base plates flat and stacked.
Table of Contents
- What a Custom Pipe and Drape Setup Includes
- Pipe and Drape Setup Instructions, Step by Step
- Pipe and Drape Backdrop Dimensions and Fabric Math
- Choosing Fabric and Hardware for Your Configuration
- DIY Pipe and Drape Installation vs. Professional Crews
- Event Draping Cost per Square Foot: What Drives the Number
- Troubleshooting Uneven Heights, Load Limits, and Fire Safety
- Request a Quote for Your Custom Drape Configuration
- Frequently Asked Questions
What a Custom Pipe and Drape Setup Includes
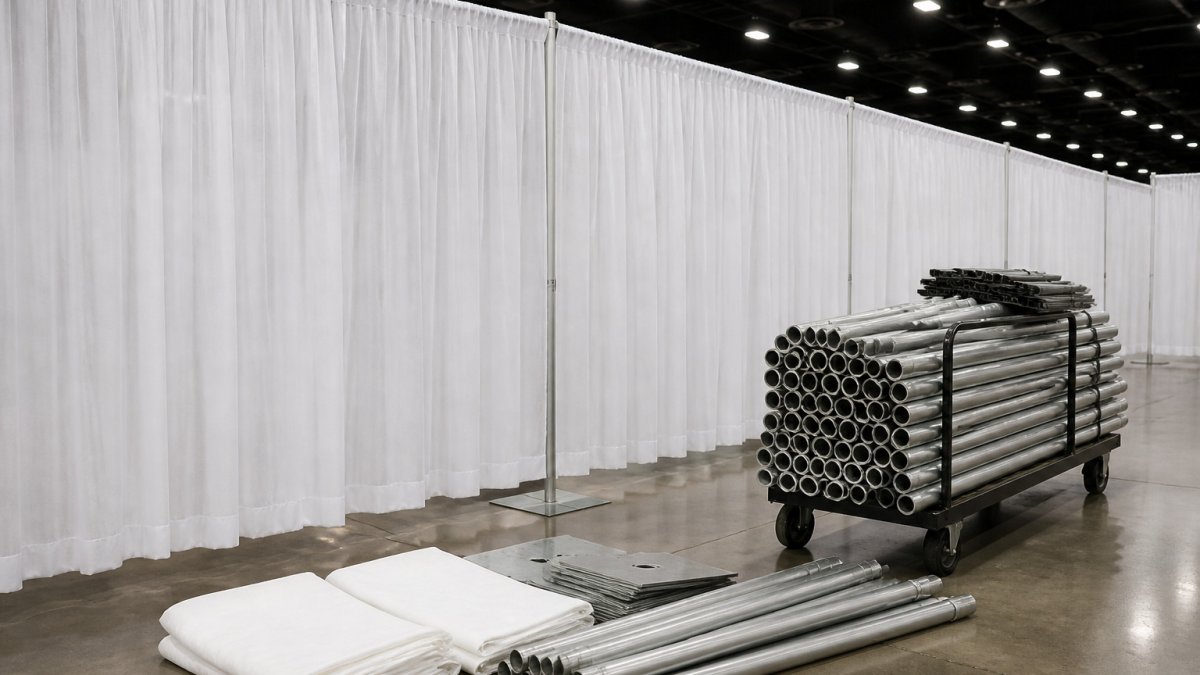
A custom pipe and drape setup is a modular backdrop system built from adjustable uprights, horizontal crossbars, weighted base plates, and fabric panels, configured to fit a specific venue rather than a standard booth package. Event Drape Rental supplies these systems for corporate events, trade show booths, and weddings, so the components should be specified correctly before anything ships.
The difference between a clean installation and a sagging one comes down to four parts working together. Get one wrong and the whole wall reads as amateur.
Uprights, Crossbars, Base Plates, and Spigots
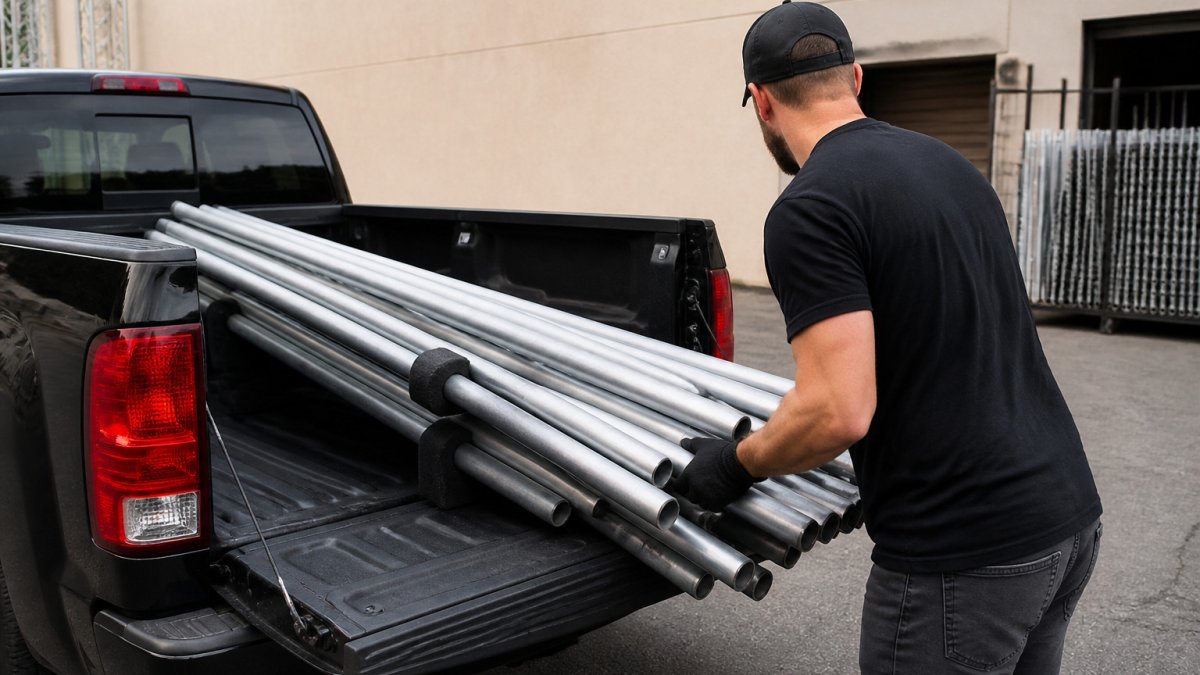
Uprights are the vertical telescopic poles that carry the height. They adjust to reach the ceiling line or the top of your backdrop.
Crossbars are the horizontal spans that hold the fabric. According to Drape Kings' hardware sizing guidance, 7 to 12 feet is the most common length for adjustable horizontal drape supports, with modular crossbars ranging from 2 to 3 feet up to 9 to 16 feet.
Base plates are the weighted steel plates at the foot of each upright. Heavier base weight or sandbags are needed as the vertical height increases.
Spigots are the pin-and-slot fittings that join uprights to crossbars and allow tool-free assembly. This is the part that makes a modular system fast to build and tear down.
Pipe and Drape Setup Instructions, Step by Step
Follow these pipe and drape setup instructions in order. Skipping the layout step is the most common reason a wall ends up uneven at the top.
- Mark the footprint. Measure and chalk the line where the backdrop will sit, allowing clearance behind for access.
- Place base plates. Position each plate on the chalk line, spacing them to match your crossbar spans.
- Insert uprights. Seat each telescopic pole into its base plate and lock the height at your target vertical height.
- Attach crossbars. Slide the crossbar onto the spigot at the top of each upright and lock the pin and slot.
- Check plumb. Verify each upright is vertical before adding fabric weight.
- Hang fabric panels. Thread the pole pocket or hook over the crossbar, working from one end.
- Weight and dress. Add sandbags to the bases and adjust pleats for even spacing.
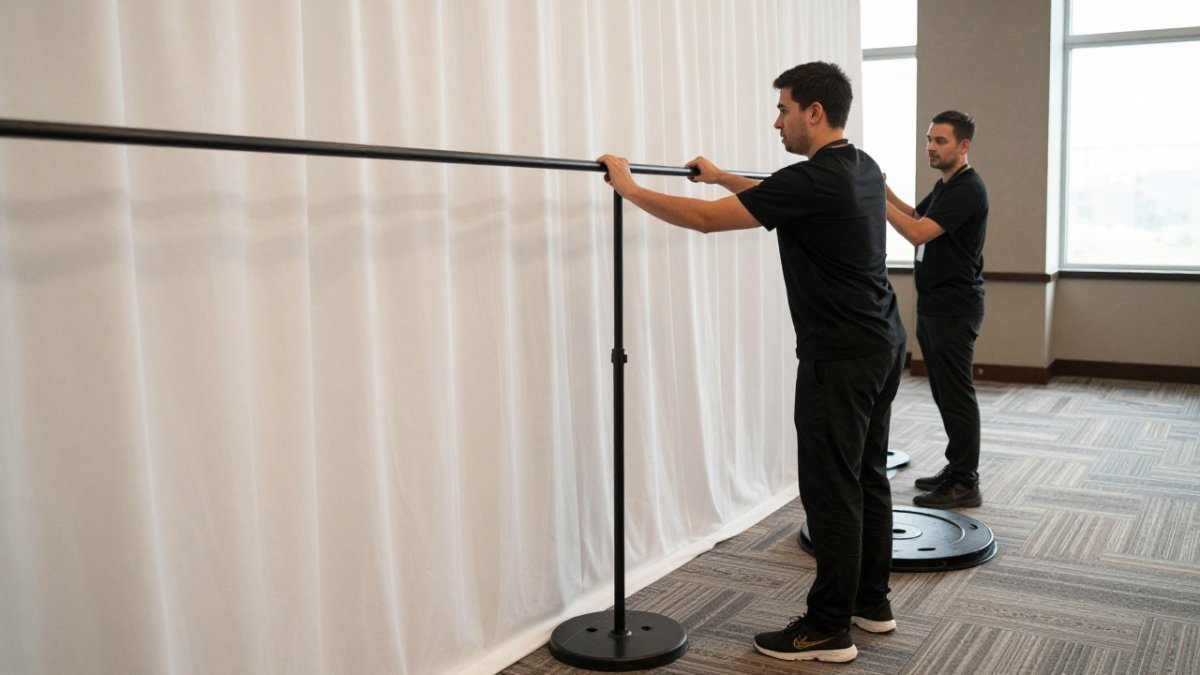
If you want to see the actual parts in a starter configuration, Event Drape Rental offers DIY installation options for pipe and drape systems.
Pipe and Drape Backdrop Dimensions and Fabric Math
Pipe and drape backdrop dimensions are driven by two numbers: the height you need and the width of fabric required to cover the span. Most people get the height right and underestimate the fabric.
Height, Span, and the 50% Pleating Ratio
The industry standard is a 50% pleating ratio. According to Hughes Rental's pipe and drape technical guide, that ratio means 15 feet of fabric for every 10 feet of wall space to achieve a lush, professional drape.
Flat fabric looks cheap. The 50% rule is what separates a backdrop from a bedsheet.
For height, standard hardware tops out around 12 feet for common configurations. Taller venues need specialized solutions; Event Drape Rental's tall-ceiling guidance notes that 15 to 40 feet is the height range requiring specialized setup. Our drapes run 12 to 30 feet, so a 40-foot warehouse ceiling is workable with the right rigging plan.
| Wall Span | Fabric at 50% Ratio | Typical Crossbar Setup |
|---|---|---|
| 10 ft | 15 ft | One 7-12 ft adjustable crossbar |
| 20 ft | 30 ft | Two crossbars, three uprights |
| 30 ft | 45 ft | Three crossbars, four uprights |
| 40 ft | 60 ft | Four crossbars, five uprights |
Choosing Fabric and Hardware for Your Configuration
Fabric choice changes both the look and the safety profile. Flame retardant treatment is a common requirement for venues with fire marshals on site. The common options:
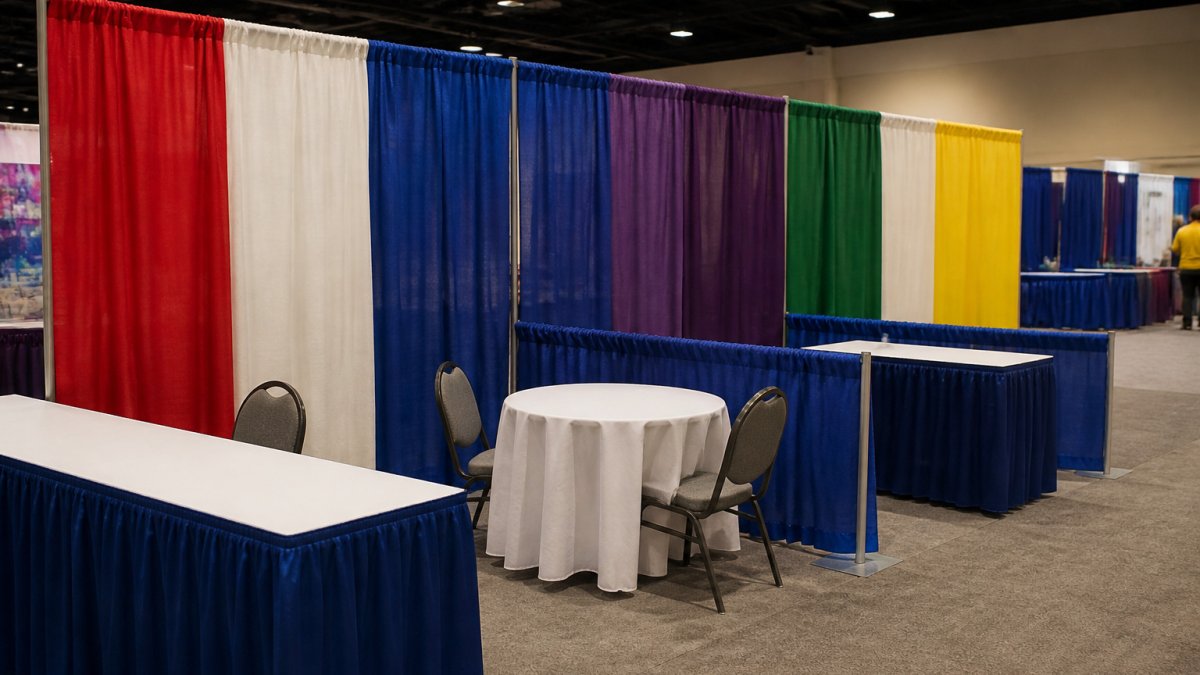
- Velour for a heavy, opaque, theatrical drape with deep folds. It is the heaviest common option, which means it needs the most base weight and the closest upright spacing.
- Poly premier for a smooth, wrinkle-resistant finish that travels well. It is lighter than velour, folds compactly, and is the usual choice for trade show booths that ship repeatedly.
- Sheer for layering and soft light diffusion behind a solid panel. It adds visual depth with minimal weight, but it offers little opacity on its own.
Hardware should be matched to the fabric weight, with heavier fabrics generally requiring more base weight and closer upright spacing. Match the crossbar's rated span to the fabric load, not just to the wall width, and confirm that the spigot fittings on your uprights are compatible with the crossbars you are ordering. Contact Event Drape Rental to confirm which fabric options are flame retardant treated and what certification comes with an order.
Watch out: a treated fabric without certification paperwork can still fail a venue inspection. Ask for documentation before the truck leaves.
Certification, Care, and Storage
When specifying flame-retardant fabric, ask your supplier for documentation that names the fabric, the treatment, and the test standard it was rated to, and confirm how the treatment holds up to cleaning.
Post-event care extends the life of the hardware and is rarely covered in setup guides. Wipe down uprights and crossbars with a dry cloth before storage to remove tape residue and hand oils, and inspect spigot pins and slots for bending or wear, since a worn pin is what lets a crossbar seat unevenly on the next build. Store base plates flat and stacked rather than leaning, because a leaning stack warps the plate edges and makes them sit proud on a flat floor. Coil crossbars and uprights in a labeled bag or case by length so the next load-in does not turn into a sorting exercise. Fabric should be folded loosely and stored dry; a damp velour panel packed in a case is the fastest route to mildew and a failed inspection.
A simple inventory checklist before every load-in saves more time than any other habit: count uprights, crossbars, base plates, spigots, and sandbags against the packing list, and confirm the flame-retardant certificate is in the case. Most practitioners find that a five-minute count at the shop prevents a one-hour scramble at the venue. Once the ground-level inventory is accounted for, treat any plan to rig overhead lights as a separate safety check before the crew begins setup.
DIY Pipe and Drape Installation vs. Professional Crews
DIY pipe and drape installation works when you have a small footprint, a flat floor, and a crew that has done it before. It stops working at height, on uneven surfaces, or on a tight load-in window.
Modular pipe and drape is built for quick, functional, standardized setups, while custom draping uses bespoke fabric and non-modular installation methods, as Houston Tents & Events' comparison describes. That distinction matters: a standardized kit is DIY-friendly, but a custom configuration with layering usually is not.
The honest trade-off:
- DIY: full control over the setup, but more time-consuming for complex layouts
- Professional installation: available from Event Drape Rental for venues that need it
For complex or tall configurations, professional installation is a practical choice.
Event Draping Cost per Square Foot: What Drives the Number
Event draping cost per square foot depends on fabric type, height, layering complexity, delivery distance, and installation labor, not on a single published rate. A per-square-foot figure is best confirmed against the specific venue, since the final cost depends on the details of the setup. For a deeper walkthrough, see how to calculate event draping cost per square foot.
The biggest cost drivers:
- Fabric material. Velour costs more than poly premier; sheer is cheapest per panel.
- Height. Drapes above standard height need specialized hardware and more crew.
- Layering. Custom layering is an extra cost based on complexity and fabric quality.
- Labor and logistics. Installation and delivery requirements can affect the total.
Troubleshooting Uneven Heights, Load Limits, and Fire Safety
Uneven drape heights are often caused by an upright not locked at the same height as its neighbors, a crossbar seated on only one spigot, or a base plate that has shifted under load. Checking the plumb line before adding fabric can help identify the cause.
Load capacity is an important consideration. Each upright carries the weight of the crossbar plus the fabric hanging from it, and heavier fabrics add more load than lighter ones. Layering adds fabric weight to the same crossbar, which should be factored into the load plan. Readers planning layered or triple-layer draping can review custom layering complexity and cost.
Load-Bearing for Triple-Layer Draping
Triple-layer draping multiplies the load on every upright and base plate. Each additional layer adds fabric weight to the same crossbar, and the outer layers pull the assembly sideways, not just down. That lateral force is what tips a lightly weighted base.
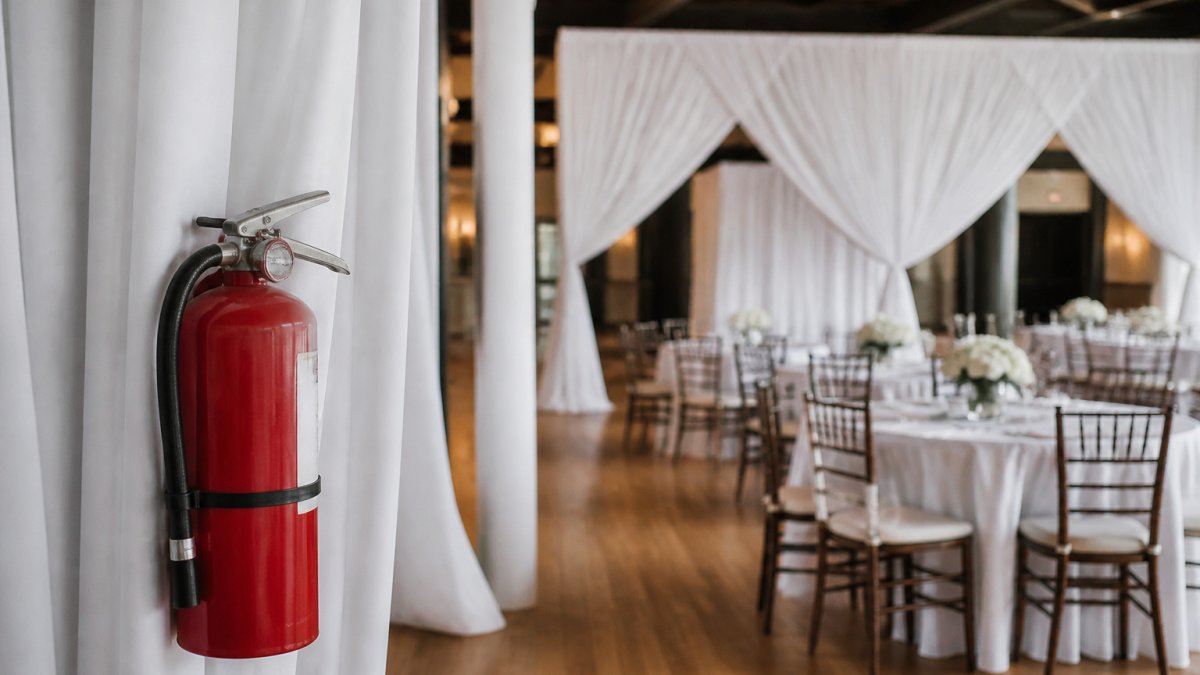
Fire safety is an important consideration. Venues often check for flame-retardant fabric and documented treatment, and clear access behind the drape. Confirm these requirements with the venue before load-in, and ask your supplier for certification documentation that names the specific fabric and test standard.
Request a Quote for Your Custom Drape Configuration
Send us your venue dimensions, ceiling height, fabric preference, and whether you want DIY or professional installation, and we will price the exact configuration. With over 100 colors available and multiple fabric materials, many orders can be matched to your brand palette. Our drapes run 12 to 30 feet, covering everything from a standard booth backdrop to a tall warehouse ceiling.
Ready to price it out? Request a quote for your drape configuration to get current pricing and details for your event.
Specifying a custom pipe and drape system is a measurement problem before it is a design problem. Get the height, span, and pleating ratio right, weight the bases for the layers you are actually hanging, and the installation takes care of itself. Event Drape Rental offers pipe and drape solutions with DIY or professional installation options depending on your venue. Get started with Event Drape Rental to plan your backdrop for your next event.
Frequently Asked Questions
How do you set up a pipe and drape system?
Start by marking your footprint and placing weighted base plates on the floor. Insert uprights into the base spigots, then attach crossbars to the upright tops using the pin and slot connections. Slide fabric panels onto the crossbars before locking the final height, or drape over the assembled frame using pole pockets. Check that every base is fully weighted and that uprights sit plumb before adding sandbags.
What parts do you need for a pipe and drape setup?
A pipe and drape setup typically uses uprights, crossbars, base plates, and fabric panels. Base weights or sandbags help stabilize the structure, and layered designs add load that should be planned for before hanging. Confirm that any flame-retardant documentation you need is available for the venue.
How do you calculate the size of a pipe and drape backdrop?
Measure the wall or booth span in feet, then account for pleating to achieve fullness in the fabric. Choose uprights that clear your tallest sightline, and check that crossbar spans stay within the manufacturer's rated width so the frame does not sag under fabric weight. Event Drape Rental's drapes run 12 to 30 feet in height.
Should I set up pipe and drape myself or hire a professional?
DIY pipe and drape installation can suit simpler setups with a capable crew and enough time on site. For complex or tall configurations, Event Drape Rental offers professional installation as an option.