 how-to
DIY Event Pipe Drapery: Tips for Professional Results
Table of Contents
- What You'll Need: Materials and Tools for DIY Event Pipe Drapery
- Planning Your Pipe and Drape Setup
- Determining the Right Pipe and Drape Height
- Step-by-Step Installation for DIY Pipe and Drape Backdrop
- Building a DIY Pipe Curtain Rod System
- Common Mistakes to Avoid
- Ensuring Stability and Safety
- Conclusion
- Frequently Asked Questions
Last Updated: October 12, 2026
What You'll Need: Materials and Tools for DIY Event Pipe Drapery
Building a professional-looking DIY event pipe drapery system starts with having the right materials on hand. Before you begin assembly, gather everything you need. This prevents frustrating mid-project runs to the hardware store and ensures your backdrop looks polished.
The good news is that most of these materials are affordable and reusable for future events.
Pipe and Frame Components
The foundation of any pipe and drape system is the frame itself. Metal pipe forms the structural backbone. You'll need vertical uprights, horizontal crossbars, and connecting pieces that hold everything together securely.
Most DIY setups use either steel or aluminum pipe. Steel is heavier but more durable for frequent use. Aluminum is lighter and easier to handle alone. Both work well for event backdrops ranging from 12 to 30 feet in height.
Base plates are critical. These weighted feet prevent the entire structure from tipping. Each upright needs a sturdy base plate to distribute weight evenly across your floor.
Connectors link pipes together at angles. Common types include:
- Tee connectors (join three pipes)
- Elbow connectors (90-degree angles)
- Cross connectors (join four pipes)
- Swivel connectors (allow flexible positioning)
Quality connectors ensure your frame stays square and stable throughout the event.
Fabric and Drapery Supplies
Drapery panels form the visual backdrop. Fabric choice affects both appearance and durability. Common materials include:
- Polyester (wrinkle-resistant, easy to clean)
Panel width typically ranges from 48 to 60 inches. Height depends on your venue, but standard panels run 8, 10, 12, or 15 feet tall. Event Drape Rental stocks over 300 colors and 6 different fabric materials, so you can match any event theme.
Fabric tape secures seams and prevents fraying. This reinforced tape strengthens panel edges and extends fabric life through multiple events.
Hooks or clips attach fabric to the crossbar. Slide-on hooks are fastest. Clamps offer more security for high-wind outdoor events.
Tools and Hardware
You won't need many tools, but having the right ones makes assembly faster and safer.
Essential tools include:
- Adjustable wrench (for tightening connectors)
- Level (ensures your frame is straight)
- Measuring tape (25-foot minimum)
- Rubber mallet (gently seats pipes into connectors)
- Work gloves (protects hands from sharp pipe edges)
- Non-slip mats (prevents frame from sliding on smooth floors)
A step ladder helps reach high attachment points. Sandbags or weight plates add stability for tall setups. Many event professionals keep sandbags on hand for outdoor events where wind is a factor.
Planning Your Pipe and Drape Setup
Successful DIY event pipe drapery begins with accurate planning. Rushing this step leads to undersized fabric, wobbly frames, or leftover materials you can't use.
Spend 30 minutes measuring and calculating before you buy anything. This saves money and prevents installation headaches.
Measuring Your Space
Start by measuring your venue thoroughly. Height, width, and depth determine frame size and fabric quantity.
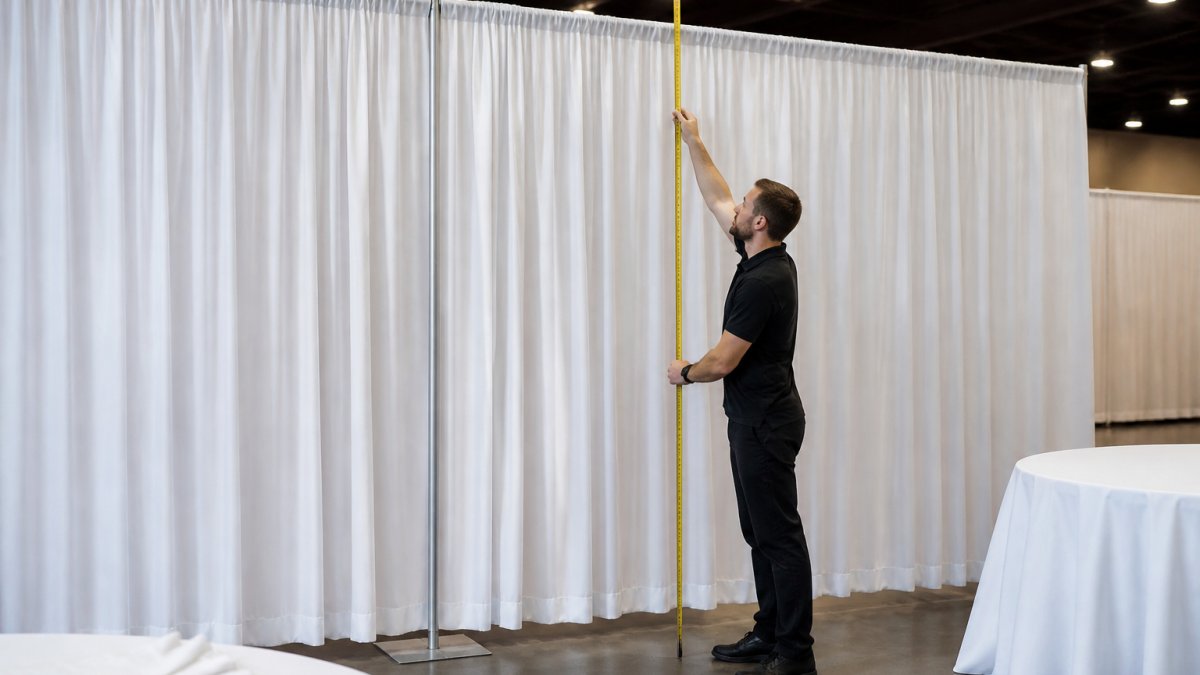
Measure from floor to ceiling at multiple points. Ceilings aren't always level.
Measure the wall or area where the backdrop will hang. Width matters because you need enough fabric to cover the entire span plus extra for fullness and pleats.
Check for obstacles. Ceiling fixtures, wall-mounted equipment, or pillars affect frame placement. Mark these on your floor plan before assembly day.
Document any load limits. Some venues restrict how much weight you can attach to ceilings or walls. Ask the venue manager for weight capacity specifications.
Calculating Fabric Quantity and Fullness
Fabric fullness creates elegant drapes instead of flat panels. Most professionals use 1.5 to 2 times the span width in fabric. This means a 20-foot-wide wall needs 30 to 40 feet of fabric to look professional.
Calculate this way: measure your desired coverage width, multiply by 1.5 for modest fullness or 2 for dramatic folds, then divide by your panel width (usually 54 inches).
Example: 20-foot width × 1.5 fullness = 30 feet of fabric needed. With 54-inch panels, you need approximately 7 panels.
Seams matter. If panels are sewn together, add 0.5 inches per seam. For a large backdrop with multiple seams, this adds up.
| Calculation | Formula | Example |
|---|---|---|
| Fabric needed | Wall width × fullness factor | 20 ft × 1.5 = 30 ft |
| Number of panels | Fabric needed ÷ panel width | 30 ft ÷ 4.5 ft = 6.7 panels |
| Rounded panels | Round up to whole number | 7 panels |
| Height coverage | Measure floor to ceiling | 12 feet tall |
Determining the Right Pipe and Drape Height
Height determines how much of your venue the backdrop covers and whether it hides unwanted background elements.
Standard heights range from 8 to 15 feet for most events. Event Drape Rental offers drapes up to 30 feet for dramatic installations.
Consider your venue's ceiling height. A backdrop that reaches within 2 feet of the ceiling looks intentional and professional.
Also think about what you're hiding. If the backdrop covers an ugly wall, make sure it extends from floor to ceiling.
Taller backdrops require more strong frames and additional base weight. The frame must support the fabric's weight plus wind load if outdoors.
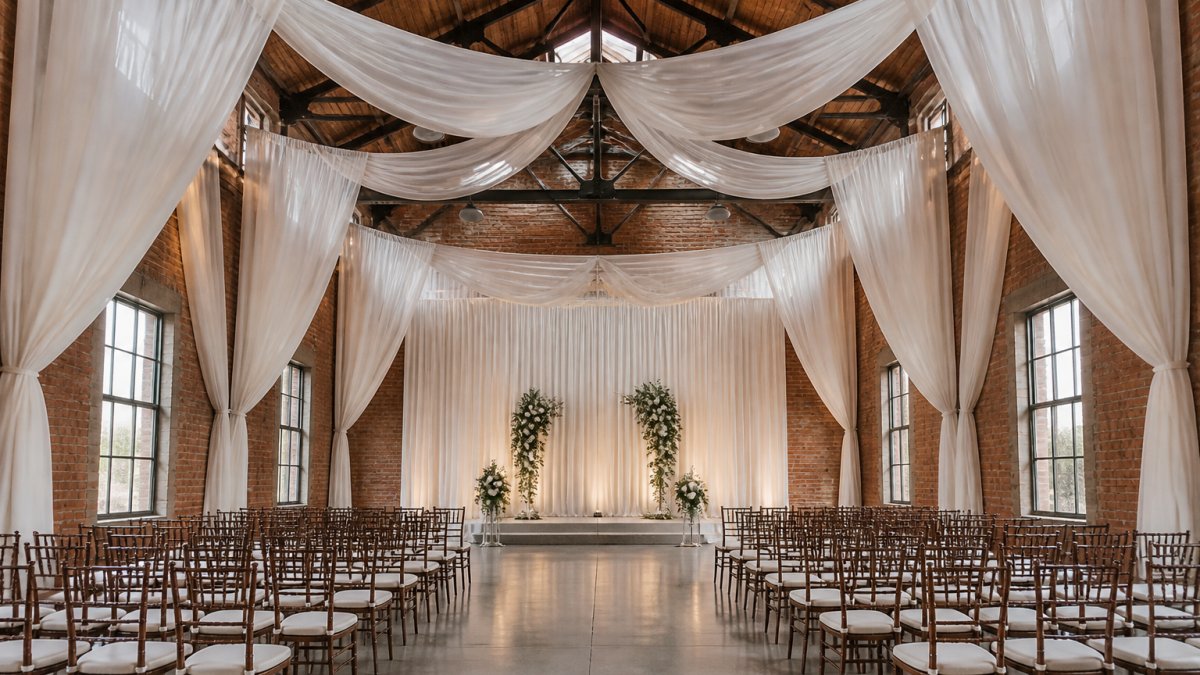
For most indoor corporate events and weddings, 10 to 12 feet is ideal. It looks substantial without requiring industrial-grade equipment.
Step-by-Step Installation for DIY Pipe and Drape Backdrop
Installing your DIY event pipe and drape system takes 2 to 4 hours depending on size and complexity. Follow this sequence for best results.
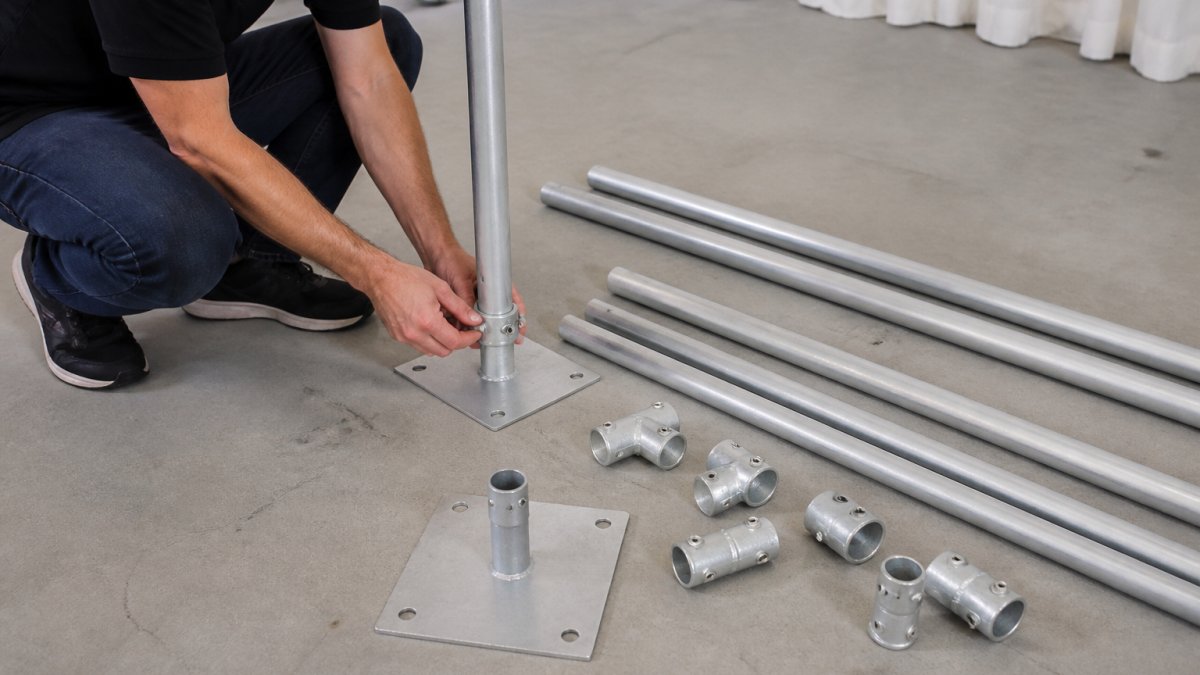
Step 1: Assemble the Base and Uprights
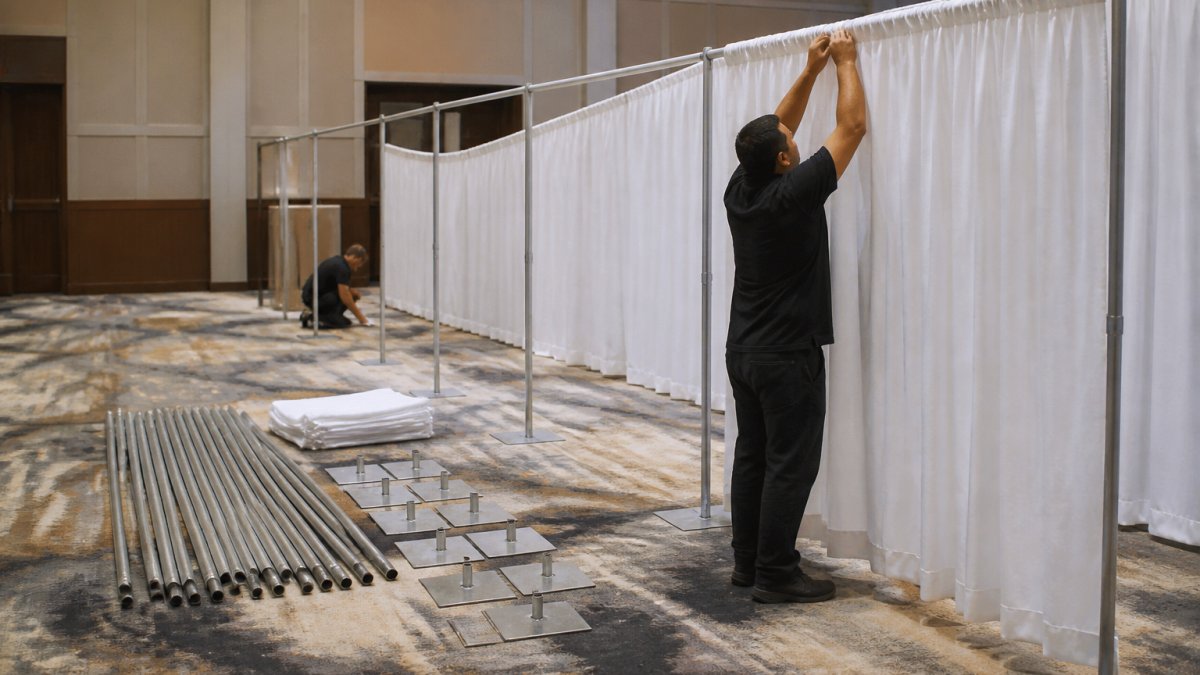
Lay out all components on a clean, flat surface before assembly. This prevents confusion and catches missing pieces.
Attach base plates to the bottom of each upright pipe. Use your wrench to tighten the connection securely. The base plate should not wobble or rotate.
Stand each upright in its base plate. Check with your level to ensure it's perfectly vertical. Adjust the base plate position if needed.
Space uprights 8 to 10 feet apart for most backdrops. Closer spacing creates a more rigid frame.
Place non-slip mats under each base plate. These prevent the frame from sliding across smooth floors during installation or when fabric weight shifts.
Step 2: Install the Crossbar
The horizontal crossbar connects your uprights at the top. This is where fabric hangs.
Attach crossbar connectors to the top of each upright. These connectors hold the crossbar pipe securely in place.
Slide the crossbar pipe through the connectors. Ensure it's level using your level tool. An unlevel crossbar causes fabric to hang unevenly and looks unprofessional.
Tighten all connector bolts firmly. Use your wrench to ensure nothing shifts during fabric installation or wind exposure.
For very wide spans (over 15 feet), add a center support upright. This prevents the crossbar from sagging under fabric weight.
Step 3: Hang and Arrange the Fabric
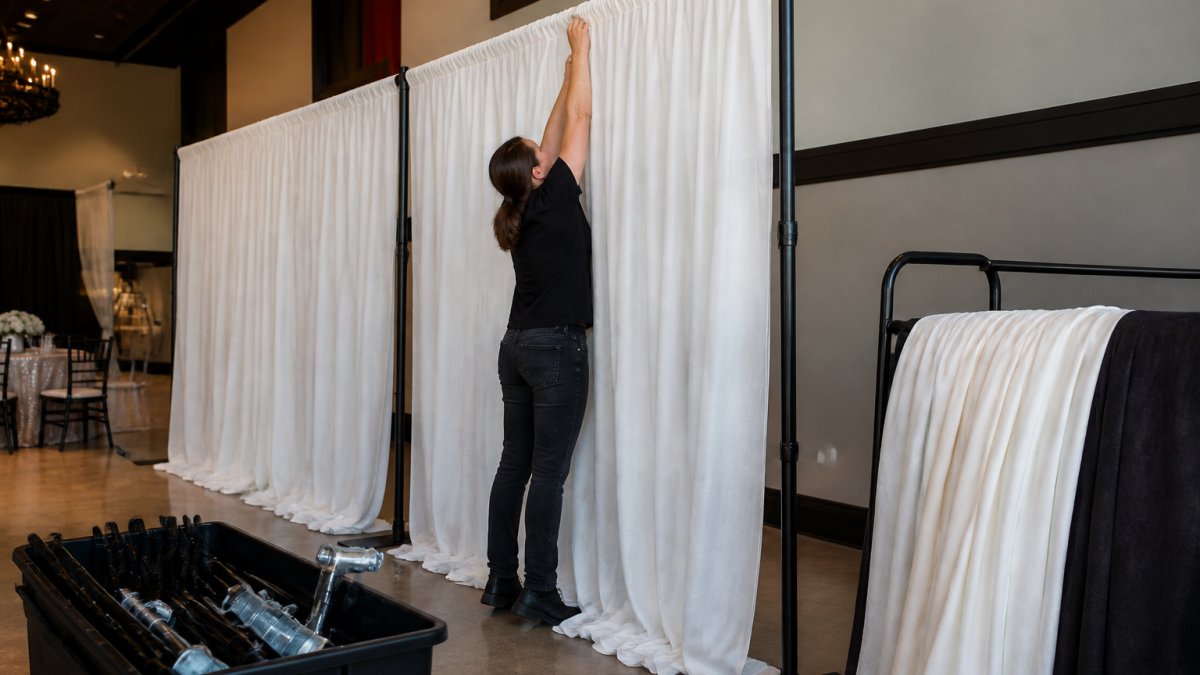
This is where your backdrop comes to life. Start at one end of the crossbar.
Attach your first fabric panel using hooks or clips. Space hooks 12 inches apart for secure hanging.
Slide the fabric onto the hooks or clamp it tightly. Smooth out wrinkles as you go.
Attach subsequent panels, overlapping slightly where they meet. This hides seams and creates a continuous backdrop.
Create pleats by gathering fabric between attachment points. Use fabric clips or safety pins to hold pleats in place.
Adjust fullness as you work. If fabric looks too tight, loosen a few hooks and redistribute.
Step back frequently to assess the overall look.
Building a DIY Pipe Curtain Rod System
A DIY pipe curtain rod system works similarly to a full backdrop but on a smaller scale. These are ideal for dividing spaces or creating accent walls.
Single-pipe systems work for lightweight fabric or short spans. Double-pipe systems (two parallel crossbars) distribute weight better for heavier fabrics or longer distances.
For a single-pipe system, follow the same assembly steps as above but with fewer uprights. Spacing can extend to 12 feet for lighter fabrics.
Double-pipe systems require additional connectors and a second horizontal pipe. Space the pipes 6 to 8 inches apart.
Secure the pipes with diagonal bracing for extra stability. Cross-braces between uprights prevent racking (when the frame leans to one side).
Common Mistakes to Avoid
Most DIY pipe and drape failures stem from skipped planning steps or assembly shortcuts.
Undersizing your frame is the most frequent error.
Skipping the level check causes crooked backdrops. A frame that leans even slightly looks unprofessional in photos.
Neglecting base plate weight creates safety hazards. A frame that tips during installation could injure someone.
Using insufficient hooks or clips allows fabric to sag between attachment points.
Forgetting about fabric fullness results in a flat, lifeless backdrop.
Mixing connector types can cause compatibility issues. Stick with one brand and type throughout your build.
Installing outdoors without wind considerations is risky. Sandbags, guy wires, or additional bracing prevent frames from toppling in wind.
Ensuring Stability and Safety
A stable frame is a safe frame. This section covers the non-negotiable safety practices.
Weight distribution matters tremendously. Ensure base plates are positioned directly under uprights, not offset.
Check connector tightness before the event. Vibration from music, foot traffic, or weather can loosen bolts over time.
For outdoor installations, use sandbags or weight plates.
Guy wires provide additional security for tall outdoor frames.
Keep the area around the frame clear. Guests shouldn't trip over base plates or stabilizing equipment.
Never exceed the weight capacity of your connectors or base plates.
For venues with load restrictions on walls or ceilings, confirm your setup meets requirements before installation.
Document your setup with photos.
Conclusion
DIY event pipe drapery transforms any space into a professional venue without the cost of professional installation. With careful planning, the right materials, and attention to safety, you'll create a polished backdrop that impresses guests and photographs beautifully.
The key is spending adequate time on planning and measurement before assembly. Rushing this step costs more in wasted materials and frustration than taking an extra hour upfront.
For events requiring specific colors or heights exceeding 20 feet, Event Drape Rental offers professional-grade solutions with 300+ colors and 6 fabric materials available. Whether you choose DIY assembly or professional installation, we're here to help your event succeed.
Frequently Asked Questions
How tall should pipe and drape be for an event?
Pipe and drape height depends on your venue and event type. Most indoor events use 8 to 12 feet, which covers standard wall heights and creates an elegant backdrop. For larger venues with high ceilings, 15 to 20 feet works well. Wedding backdrops often range from 10 to 16 feet. Measure your ceiling height and account for any architectural features you want to hide. Event Drape Rental offers options from 12 to 30 feet, so you can choose the right height for your specific space.
What materials do I need to build a DIY pipe curtain rod?
A basic DIY pipe curtain rod requires pipe, connectors, base plates, and uprights. You'll need horizontal pipe for the crossbar, vertical uprights to support it, and weighted base plates to keep the frame stable. Add non-slip mats under the bases for safety. For hanging fabric, you'll need clips, hooks, or a slide-on system that attaches to the horizontal pipe. Gather a level, wrench, and measuring tape for assembly.
How do I keep pipe-and-drape fabric from sagging?
Fabric sags when it's too heavy or the frame isn't sturdy enough. Use the right fabric weight for your span, lighter fabrics work for shorter distances, heavier materials for longer runs. Ensure your base plates are weighted and stable on level ground. Hang fabric evenly across the pipe and create pleats or folds intentionally rather than letting them form randomly. Use fabric tape or clips spaced every 12 to 18 inches to distribute weight. Check the installation regularly during setup and adjust as needed.
How do I secure a freestanding pipe-and-drape backdrop for safety?
Stability starts with weighted base plates, use the heaviest bases available for your frame size. Place non-slip mats under each base to prevent shifting on smooth floors. Ensure the frame is level before hanging fabric. For added security, use guy lines or bracing cables if your venue permits. Never exceed the weight capacity of your pipes and connectors. Test the frame's stability by gently pushing it before adding fabric. If your venue has specific safety requirements, follow those guidelines. When in doubt, consult with your venue manager about their load limits and safety standards.
OSHA guidelines on safe rigging and load calculations
Event Planning Institute best practices for backdrop installation
International Association of Event Professionals safety standards